The Art Of Up! – Become a Furniture Refinisher.
£995.00
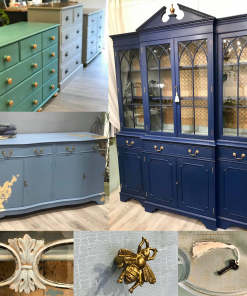
‘The Art Of Up!’ is an 8 session course designed to get you well on your way to becoming a confident Upcycler.
This is not an online course. There are a vast selection of YouTube videos for that. This is a get-stuck-in course troubleshooting real pieces of furniture, learning real skills, in real time. The course follows the path listed below and sets out to help you understand the needs of your customer base, the furniture itself, and how to be as green as possible, using low VOC and sustainable products. You will be presented with a Certificate of Achievement on completion of the course. The aim of this course is designed so that if you wish, you can develop a successful business.
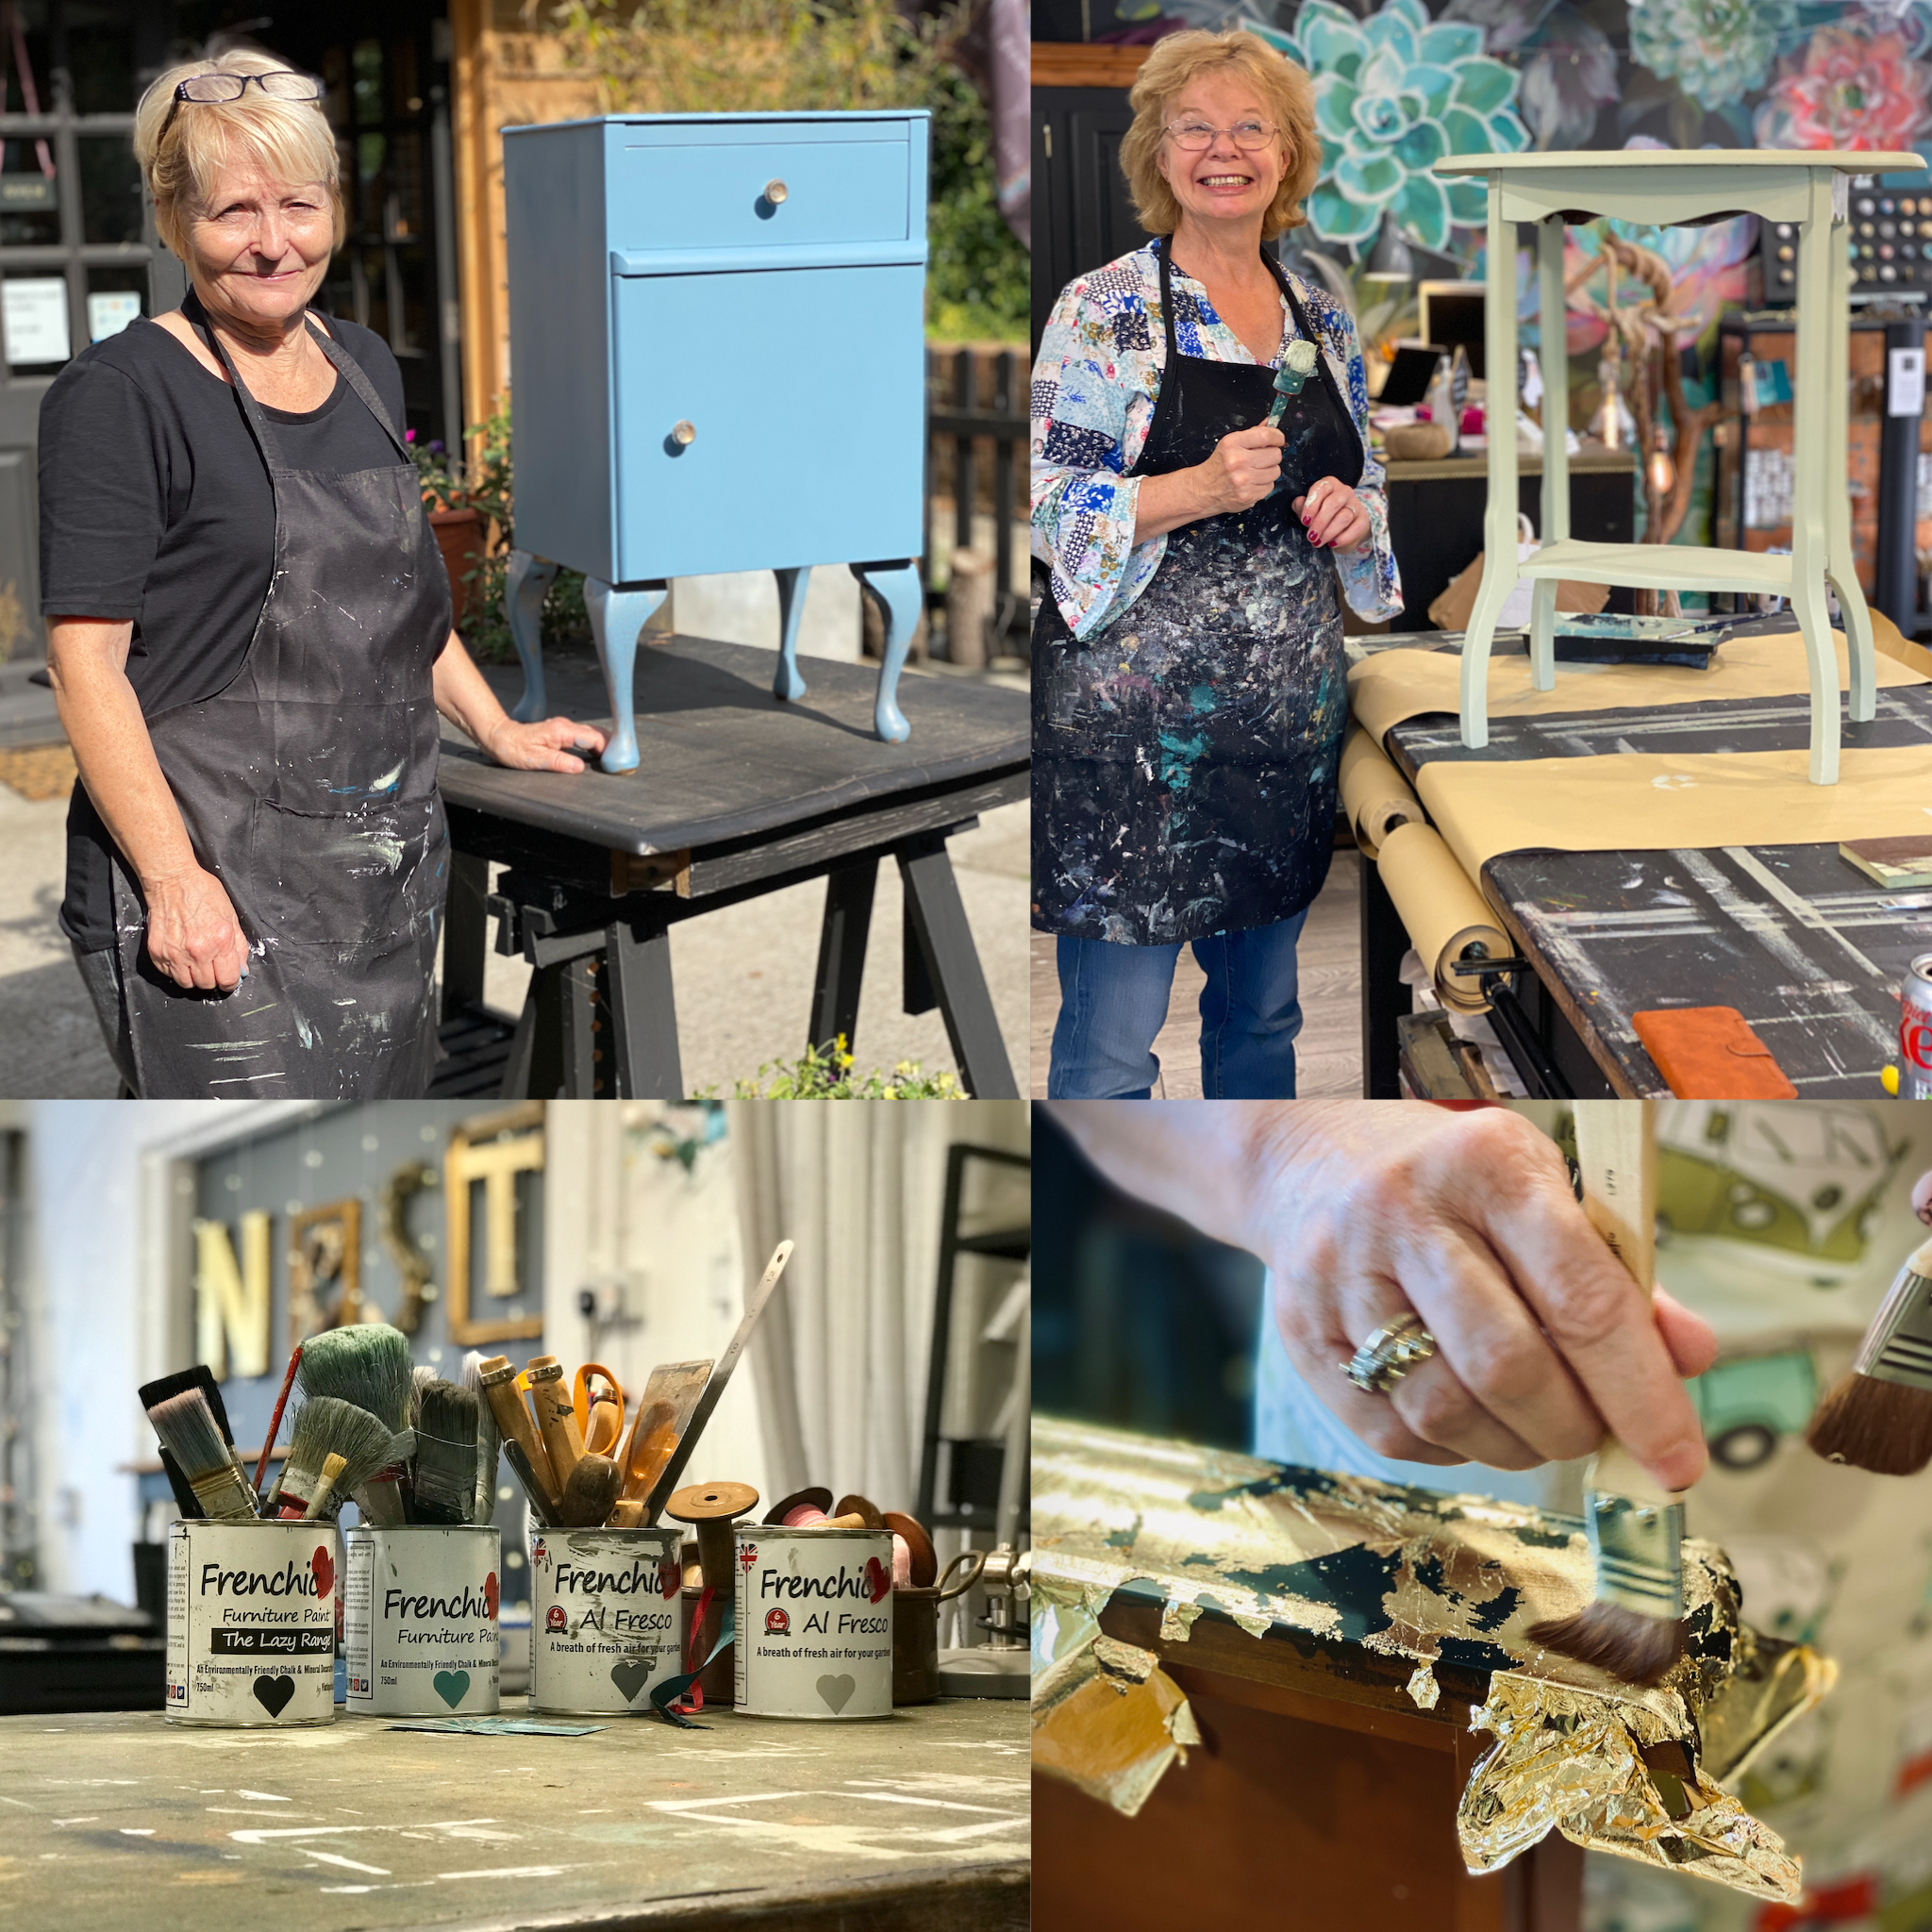
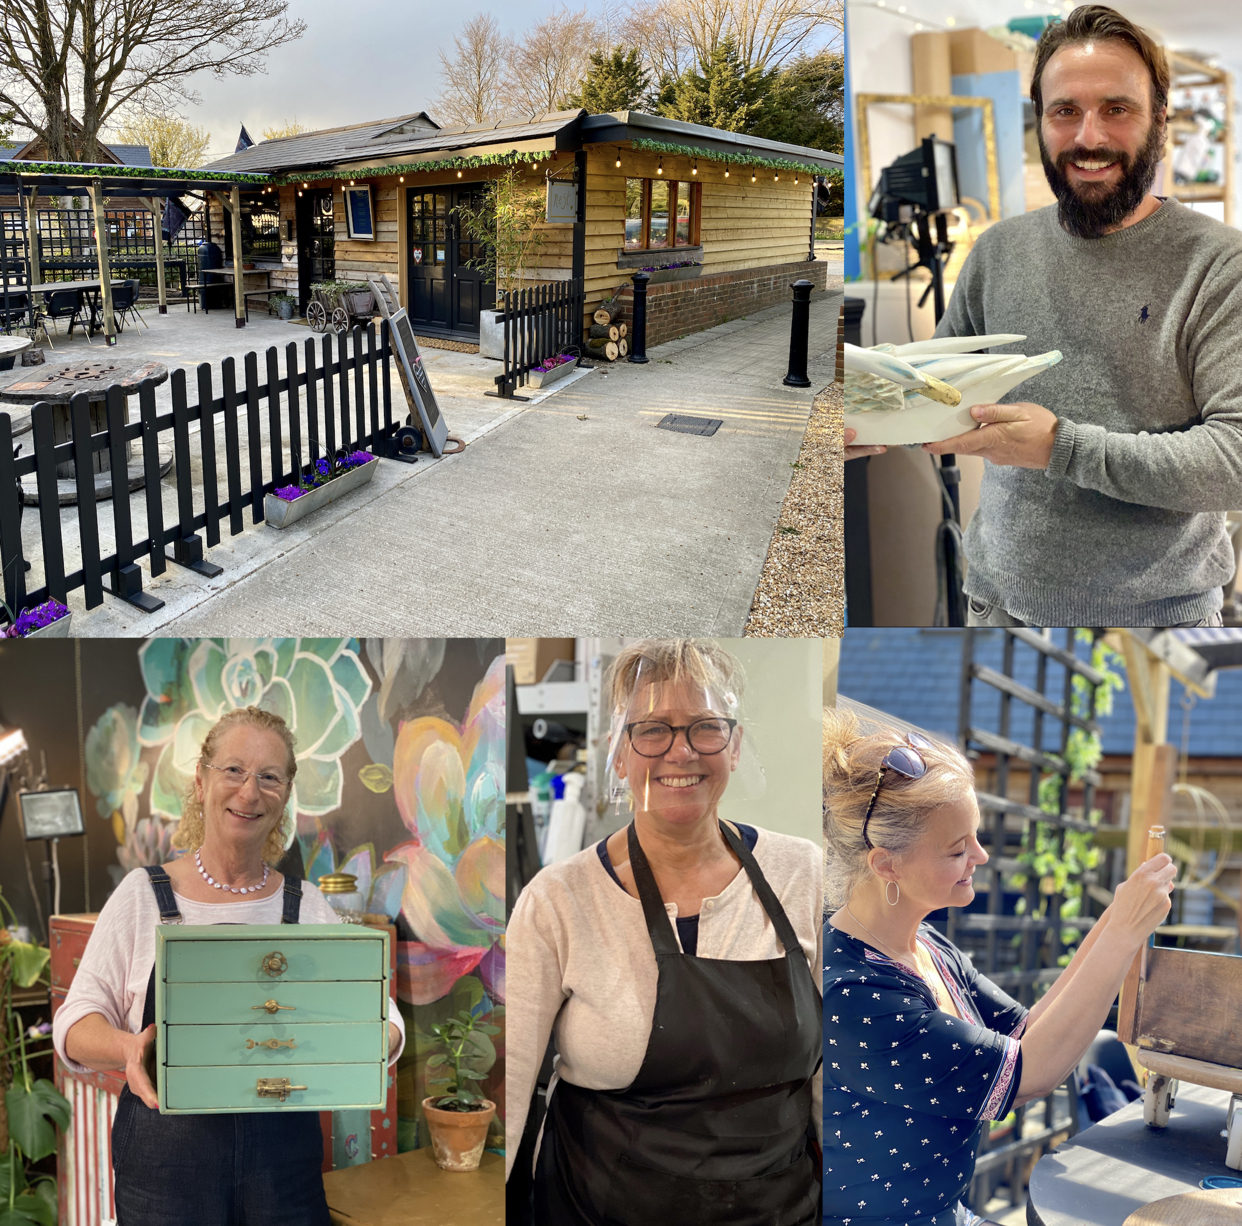
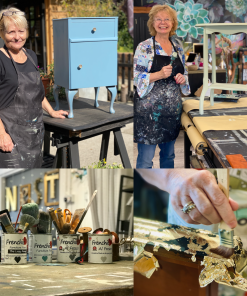
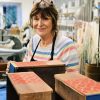
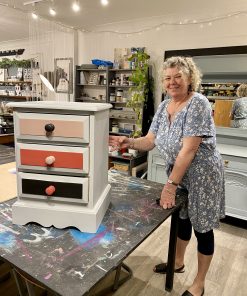
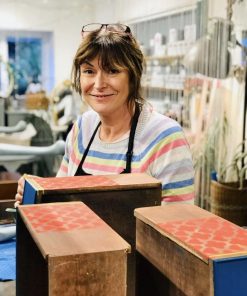
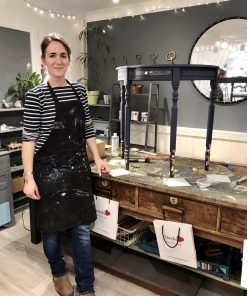
If you are creative and want to work from home, then this could be a game changing course. I am Steph, the course leader and it’s where I started out 20 years ago as a single mum, wanting to earn extra money whilst still being with my daughter. I have taken lots of breaks from furniture and pursued a career in nursing instead, but this has always been my passion and something to fall back on. Now, in 2022, I have had experience of not only home upcycling, but also of three shops and a concession, since 2014, in Rye, at Evegate, and in Folkestone. These spaces have been dedicated to selling upcycled furniture, local crafts, sustainable homeware, low VOC paint and products plus the tools needed to get started.
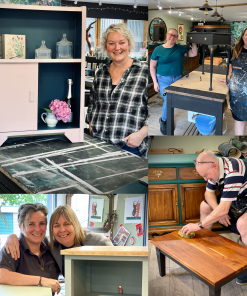
I have run hundreds of workshops since moving to Evegate, and I am currently co-managing our Accredited Arts Award Centre, Nest Studio, with my workshop colleague Casey Bee, who has years of experience as a lecturer and freelance artist. I was very recently one of only five finalists, in the Muddy Stilletos Award for Best Interiors Store in Kent.
We are all about sharing our experience with others to build a creative community. This course and all the workshops we host at Nest are part of the ethos. Creativity is therapy. Green is great. That’s why we only use low VOC products where possible with this course.
We understand that this course is a big investment when you are starting out. Thats why we have made it available in affordable instalment payments through the Klarna option at checkout, on our website.
Session 1:The Art of Up! Introduction – Classroom session at the studio
The Art of Up! will see you choosing and working over several weeks on a medium sized item to take it from drab to fab by the time you complete the course. On the first day of the course you will purchase something with help from your tutor, or have chosen to use an existing piece you have, that will need reparative work and has lots of different elements to it. By choosing the right piece we will be able to cover a broad spectrum of new skills and learn as much as possible.
We will identify what you want to achieve, and plan the style you want to work towards, using a mood board,
We will examine, who you want to be as an upcycler; Understanding your goals and USP and turning them into action.
We will look at working sustainably.
You will be shown how to source items and what to avoid.
Advice will be given on how to price a commission job and what responsibilities you will have to customers. We will discuss things such as insurance, consultation process and delivery expectations.
We will also work out what prices to expect to sell your furniture for, so you can always run to budget. This is the biggest hurdle with working with furniture that needs fixing up, as there are often invisible or unexpected costs. Profit can soon be swallowed up if you are unrealistic about retail prices.
Session 2 : Basic Woodworking Skills – Offsite session at a woodworking shop (locally based) or based at the studio
Working with personal carpentry tutor Nick Taylor, you will learn all the skills you need to choose and care for your tools. He will guide you through making yourself pieces such as bench hooks and stropping boards, that you can then use to assist you in everyday jobs. He will teach you how to troubleshoot and correct issues with furniture in need of TLC, to save it from landfill.
Using a variety of hand tools you will undertake woodwork tasks and repairs most likely to be needed for upcycling furniture. This will save you money and time. One of the biggest outlays in upcycling is repairs, especially woodwork so if you can save money by learning skills yourself rather than employing a carpenter, then you have already helped increase your profit.
Session 3: Basic skills of furniture upcycling – Studio based session
Get it right from the start – Save yourself time, tears and tension. Make a plan of how to approach your furniture.
We will spend time working on different types of preparation – from sanding, sugar soaping, and how to correct age related dings and dents, to filling larger problems like puppy chewed legs etc. with fillers.
We will look at how to prepare your pieces for painting, papering and waxing.
We will go through all the elements of how to choose your brushes, from whether synthetic to natural bristles, what roller to use and when.
What to do if you encounter a repellant, adhesion problems and how to block bleed through when going from dark to light tones.
How to preserve and refinish original hardware.
Session 4: Intermediate stage – Studio based
How to apply and work your paint in the right direction, whilst avoiding issues such as edge pooling, drips, overworking, splitting and gritting.
Using the properties of the products you have chosen, to work with you, not against you.
We will practice the application of paint onto blanks and look at the effects that different tools and techniques have on your finish.
Using different finishing products, we will look at the way they make your paintwork appear and how much protection they give. We will continue to stress test these blanks over the coming weeks as the paint and finishing products cure to see what works best. This will help you to understand that stress to paint doesn’t always come in the form of knocks or chips. Often it’s to do with substrate and temperature during the curing process. We will experiment with painted blanks in different conditions.
We will look at hardware, decorative paper, metallics and fabric choices at this stage and order any items needed, so they arrive in good time. There is sometimes a long lead time on bespoke items like wallpaper and fabrics that are printed to order, so we’ll make sure we are prepared!
Session 5: Effects and Adornment 1 – Studio based
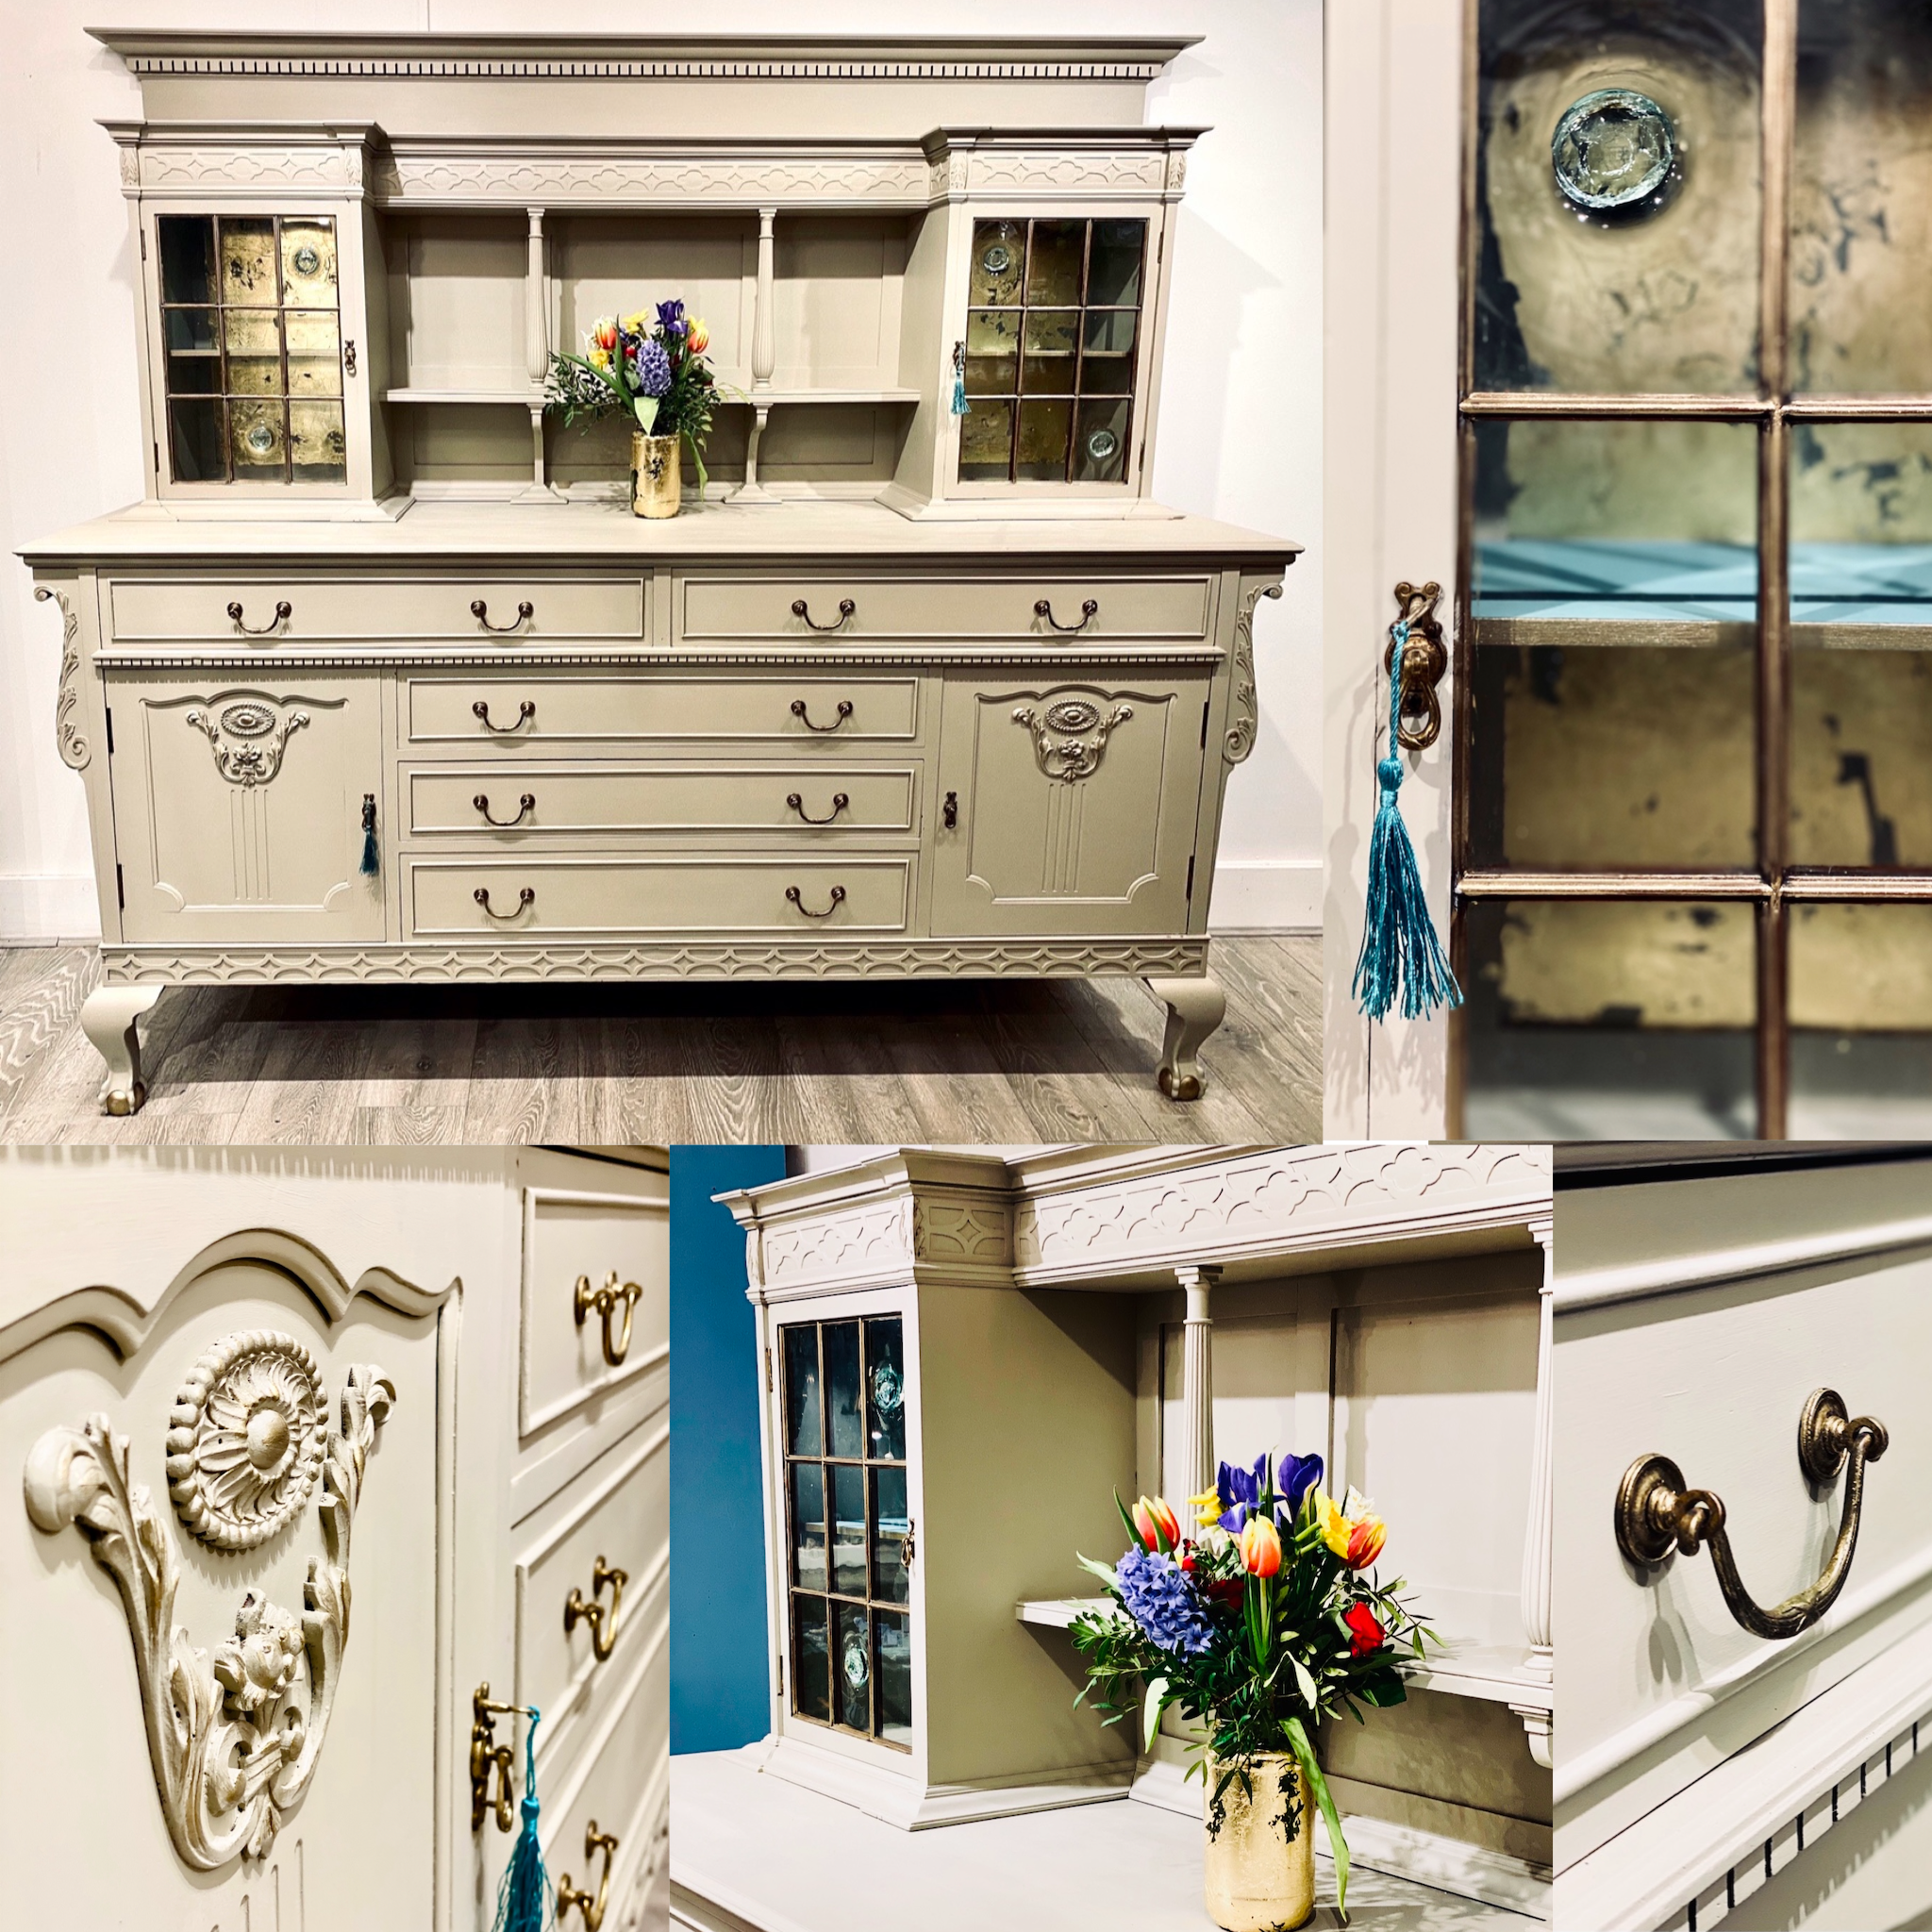
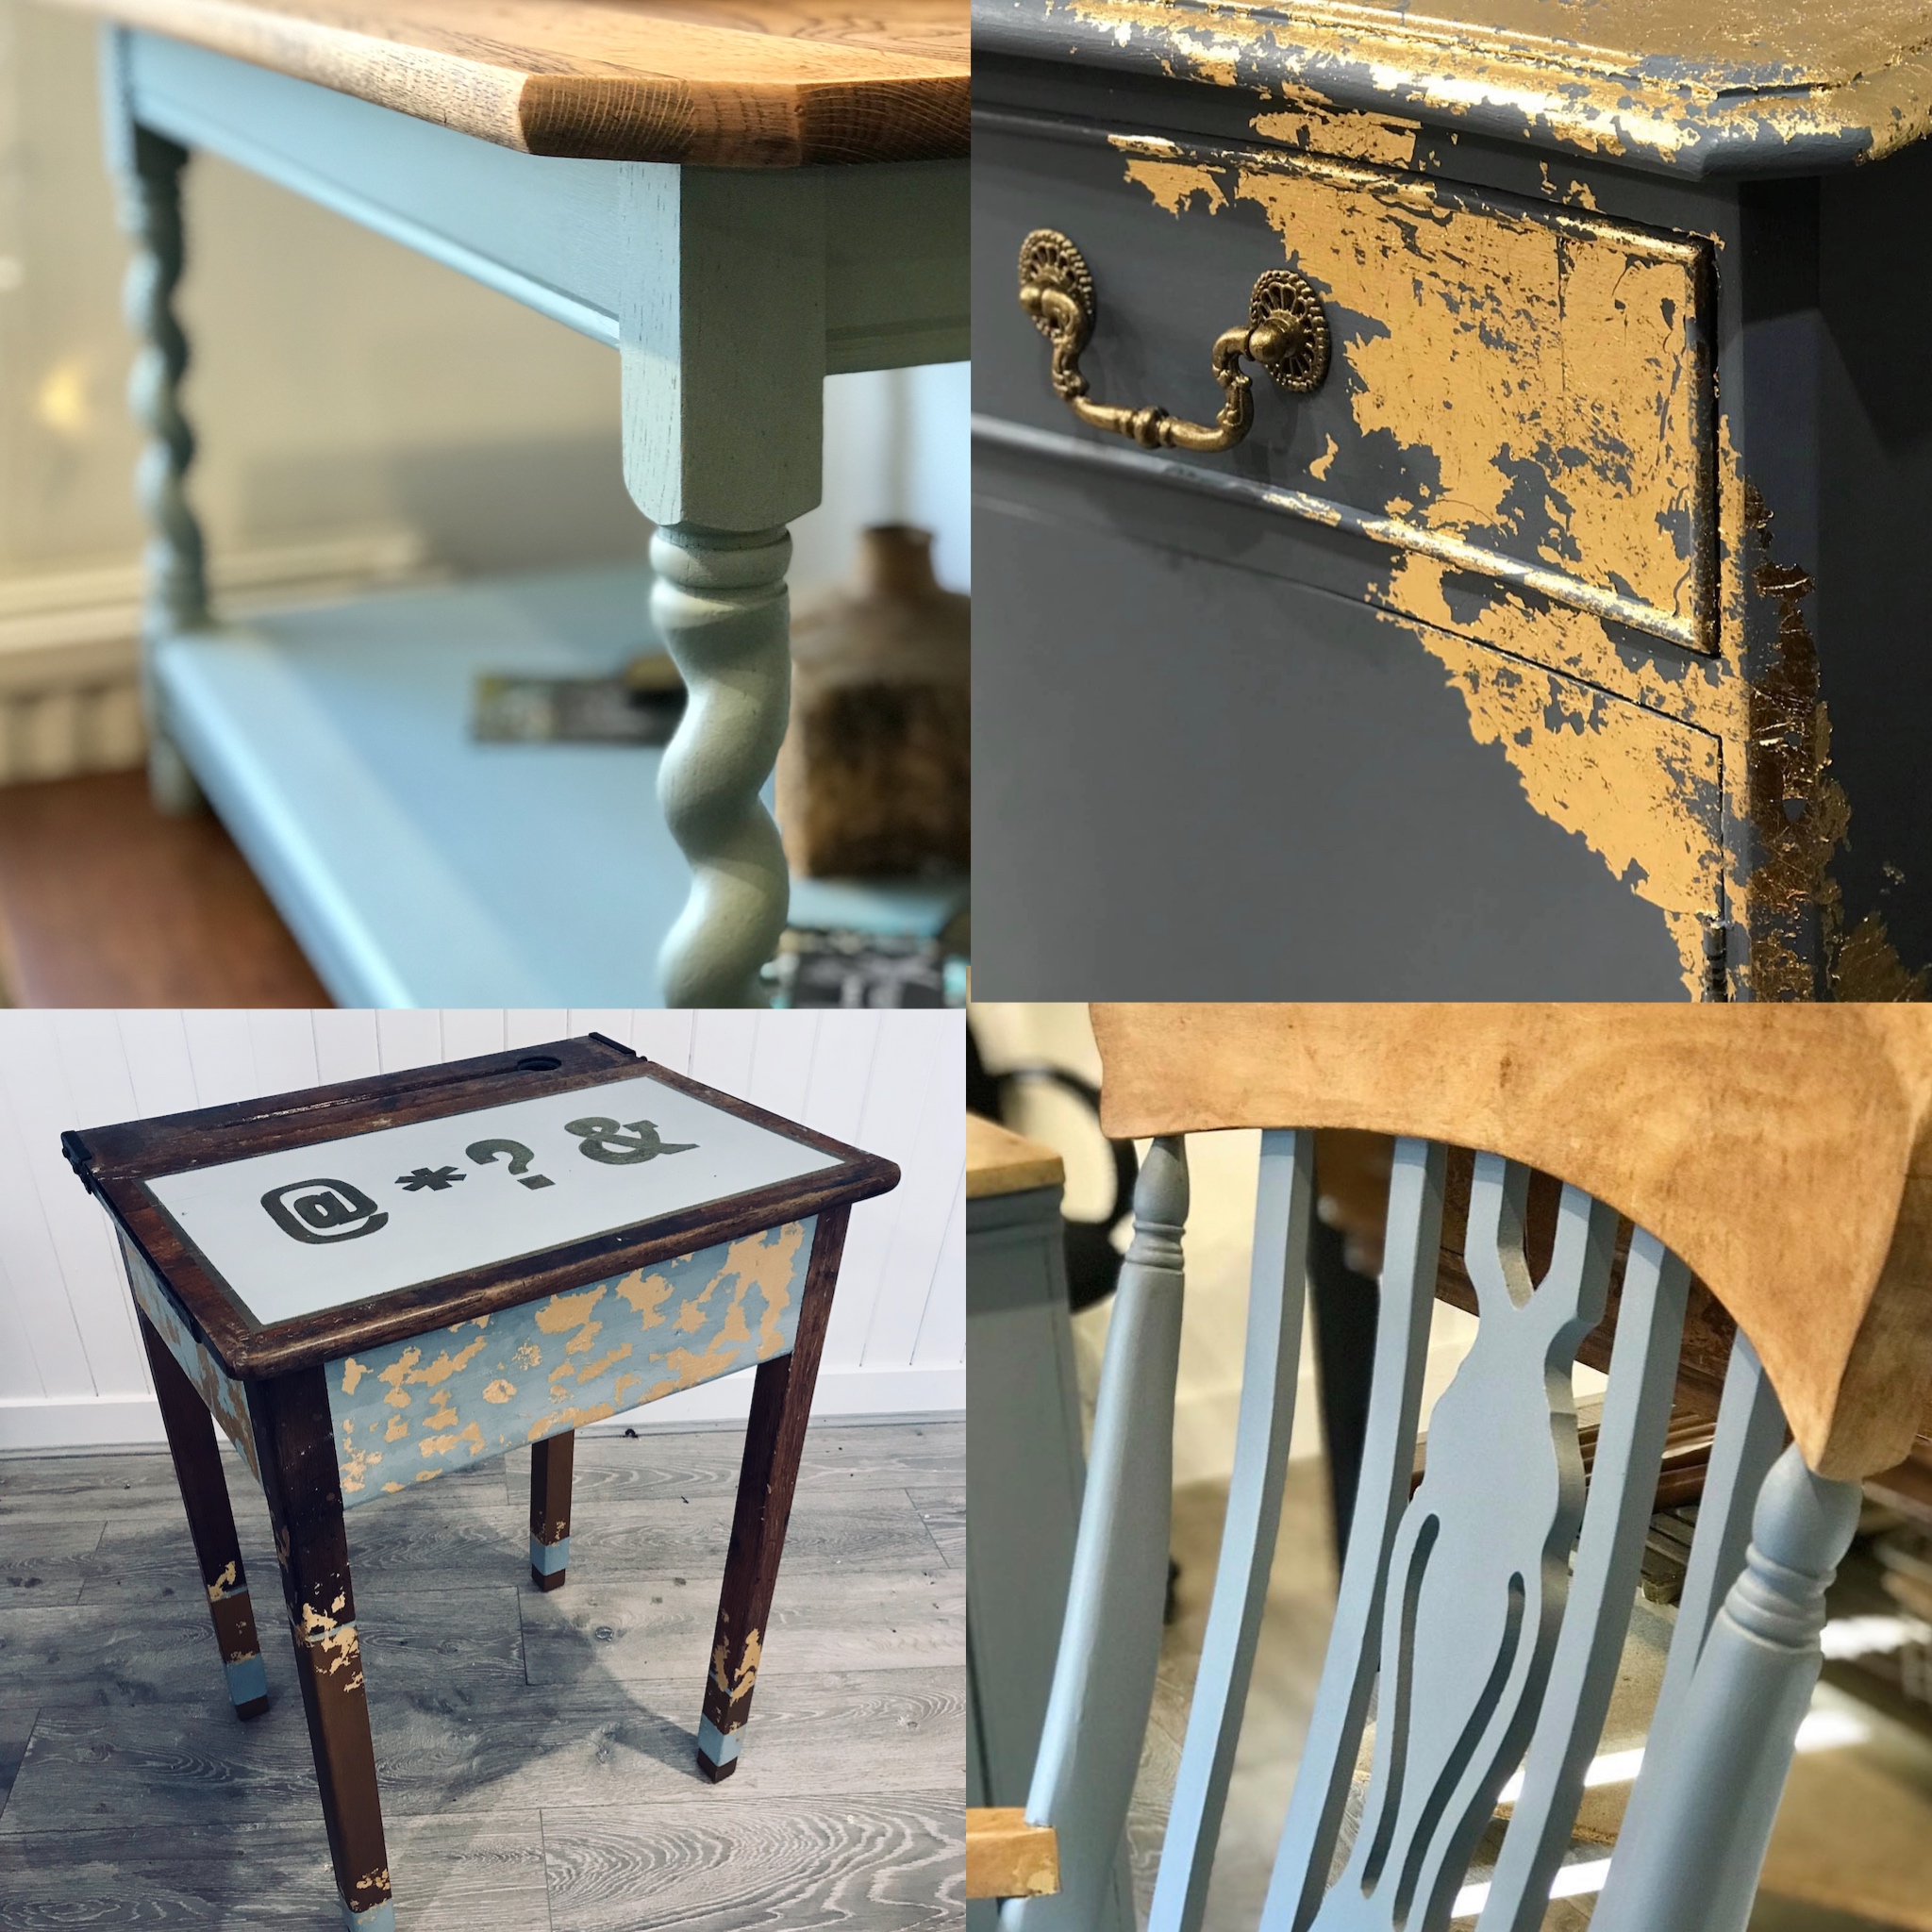
We do NOT use the words ‘Shabby chic’, nor practice it at Nest. It has been used for too long as an excuse to overcharge clients and underachieve with furniture, often with not enough, if any, prep. What looks chippy and distressed when just finished, is often just peeling, splitting and flaking waiting to happen. True distressing is an art form and actually takes a really long time, using lots of layering and products.
We will work on two different styles, both at this session and at our next Effects and Adornment session (2), that will come in useful for commissions in the future. These are the two most requested effects for furniture pieces we get.
We will look at the different ranges of paints and products used at the studio and how these best suit our painting styles.
Firstly, we will work on getting our best possible flat matte finish. This is hugely popular. It takes practice but once you nail it, you can definitely offer professional level finishes in flat colour furniture.
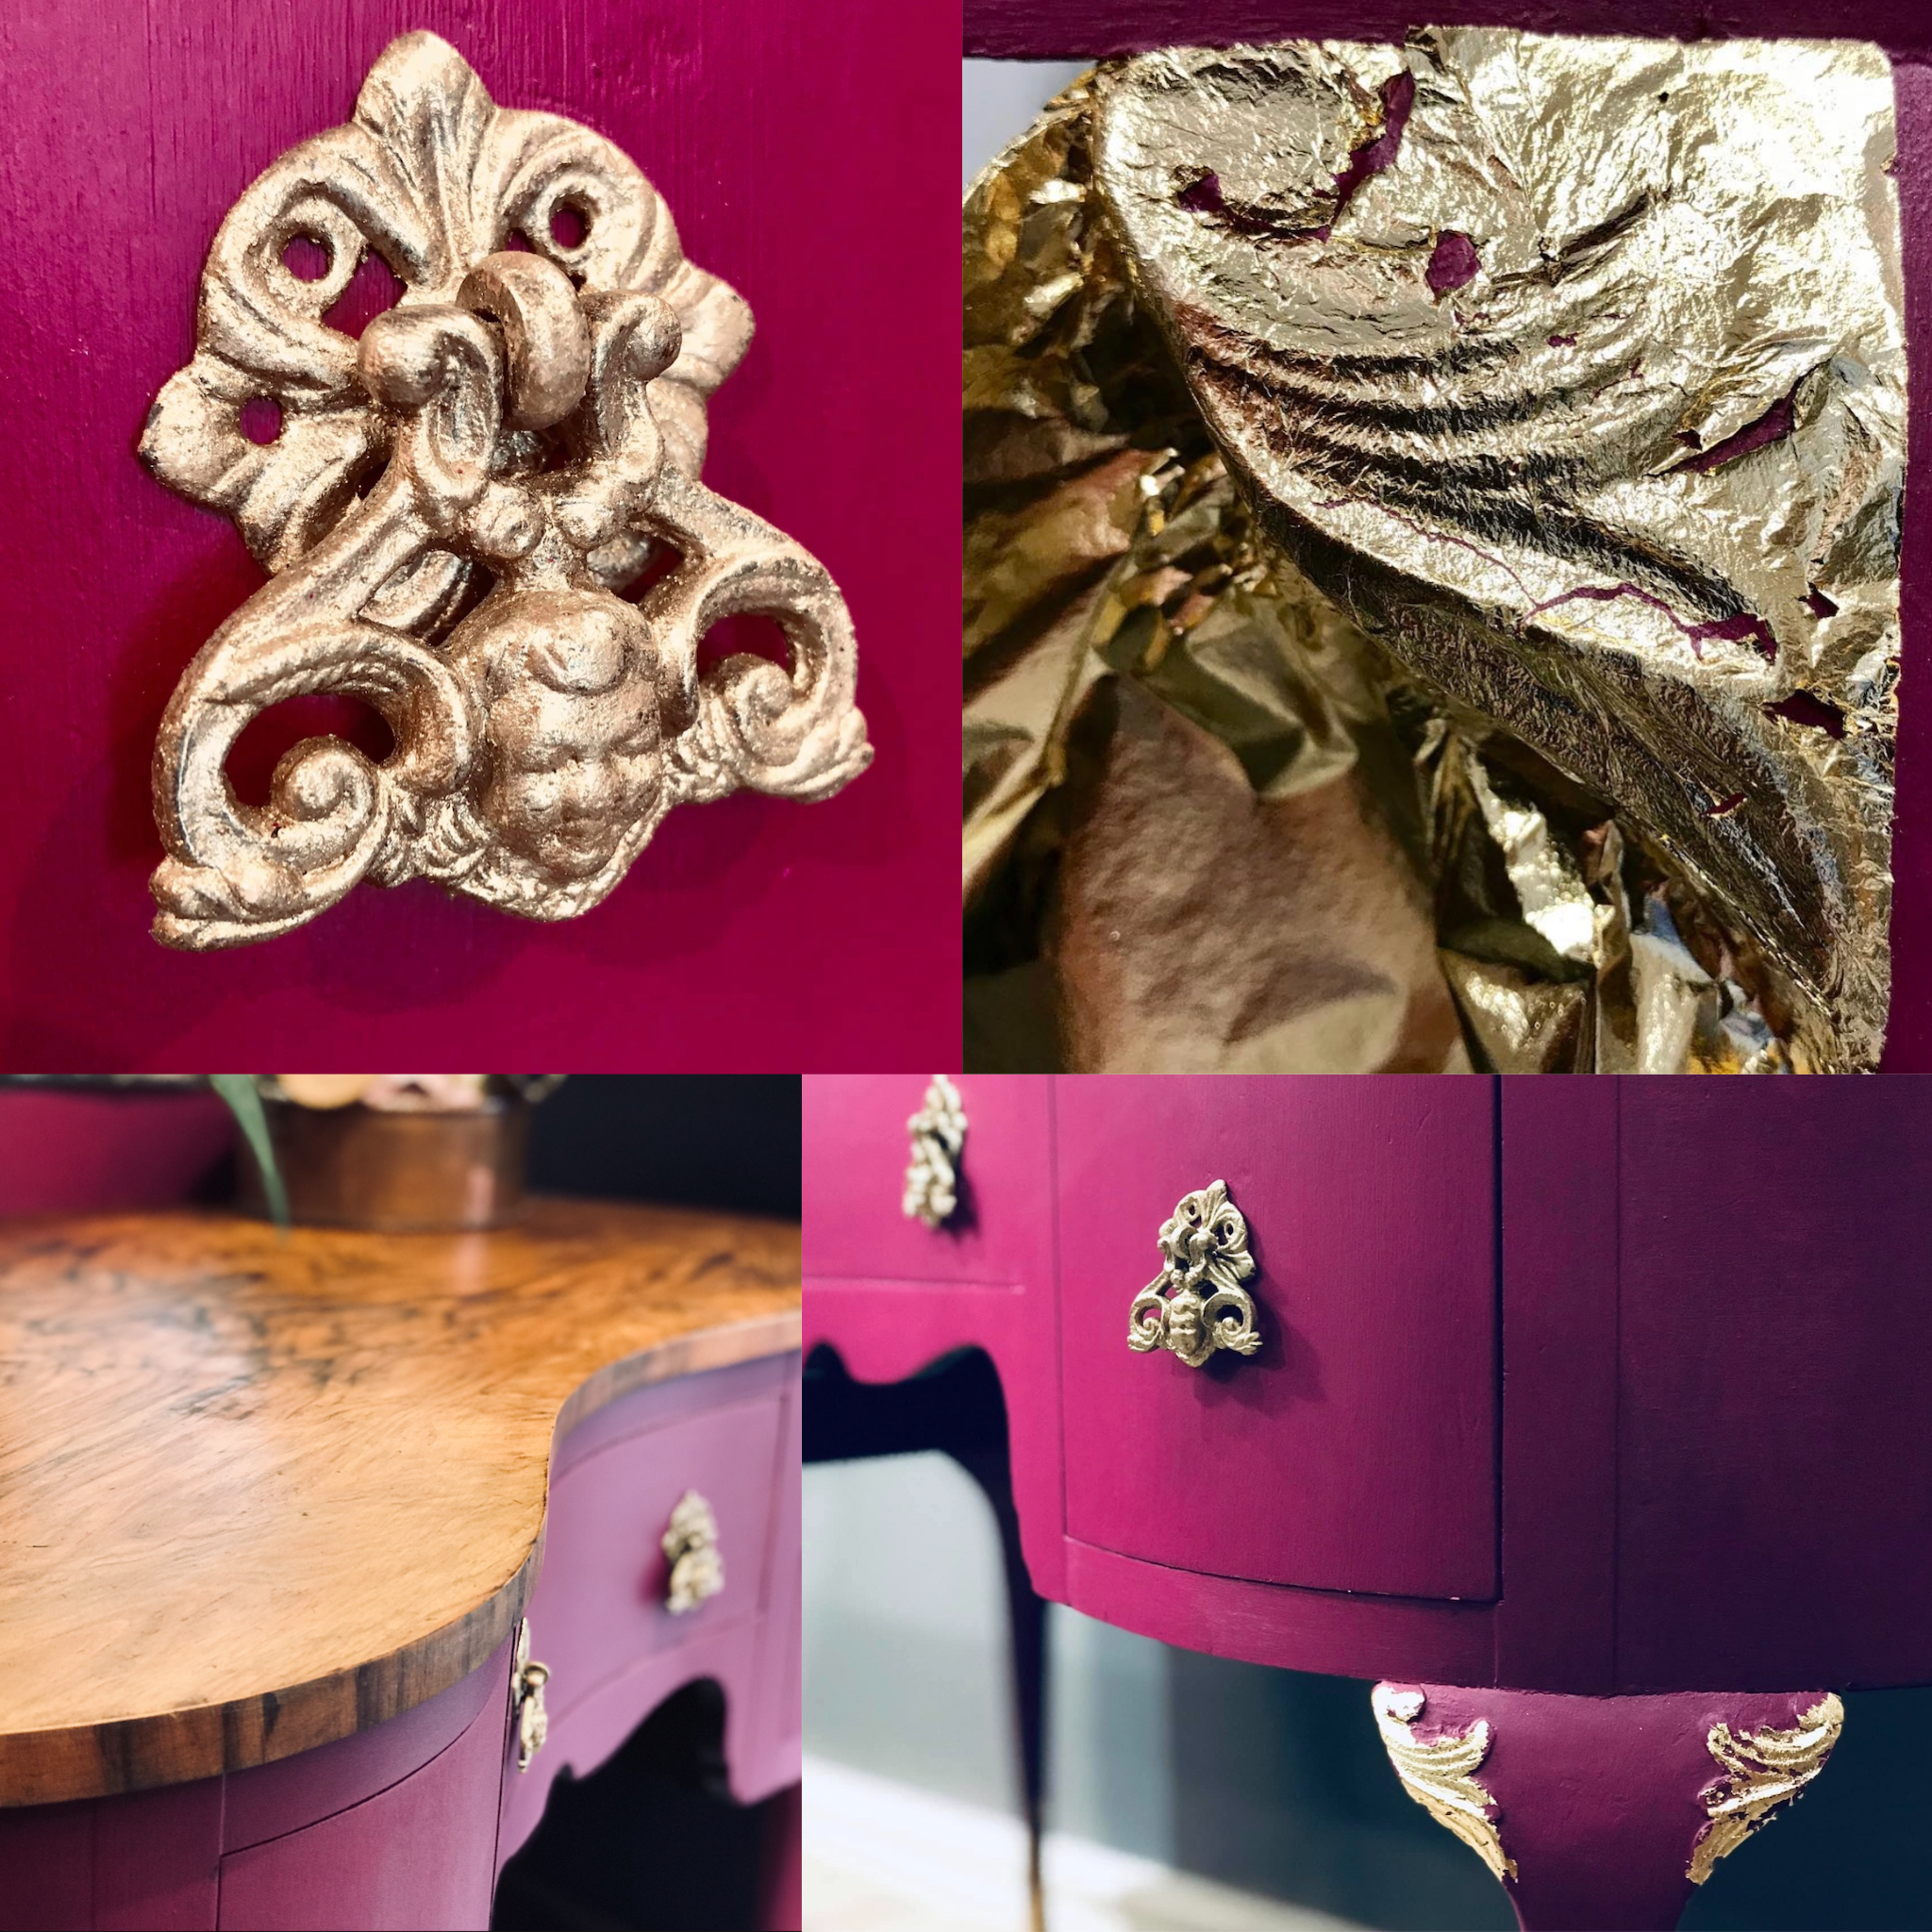
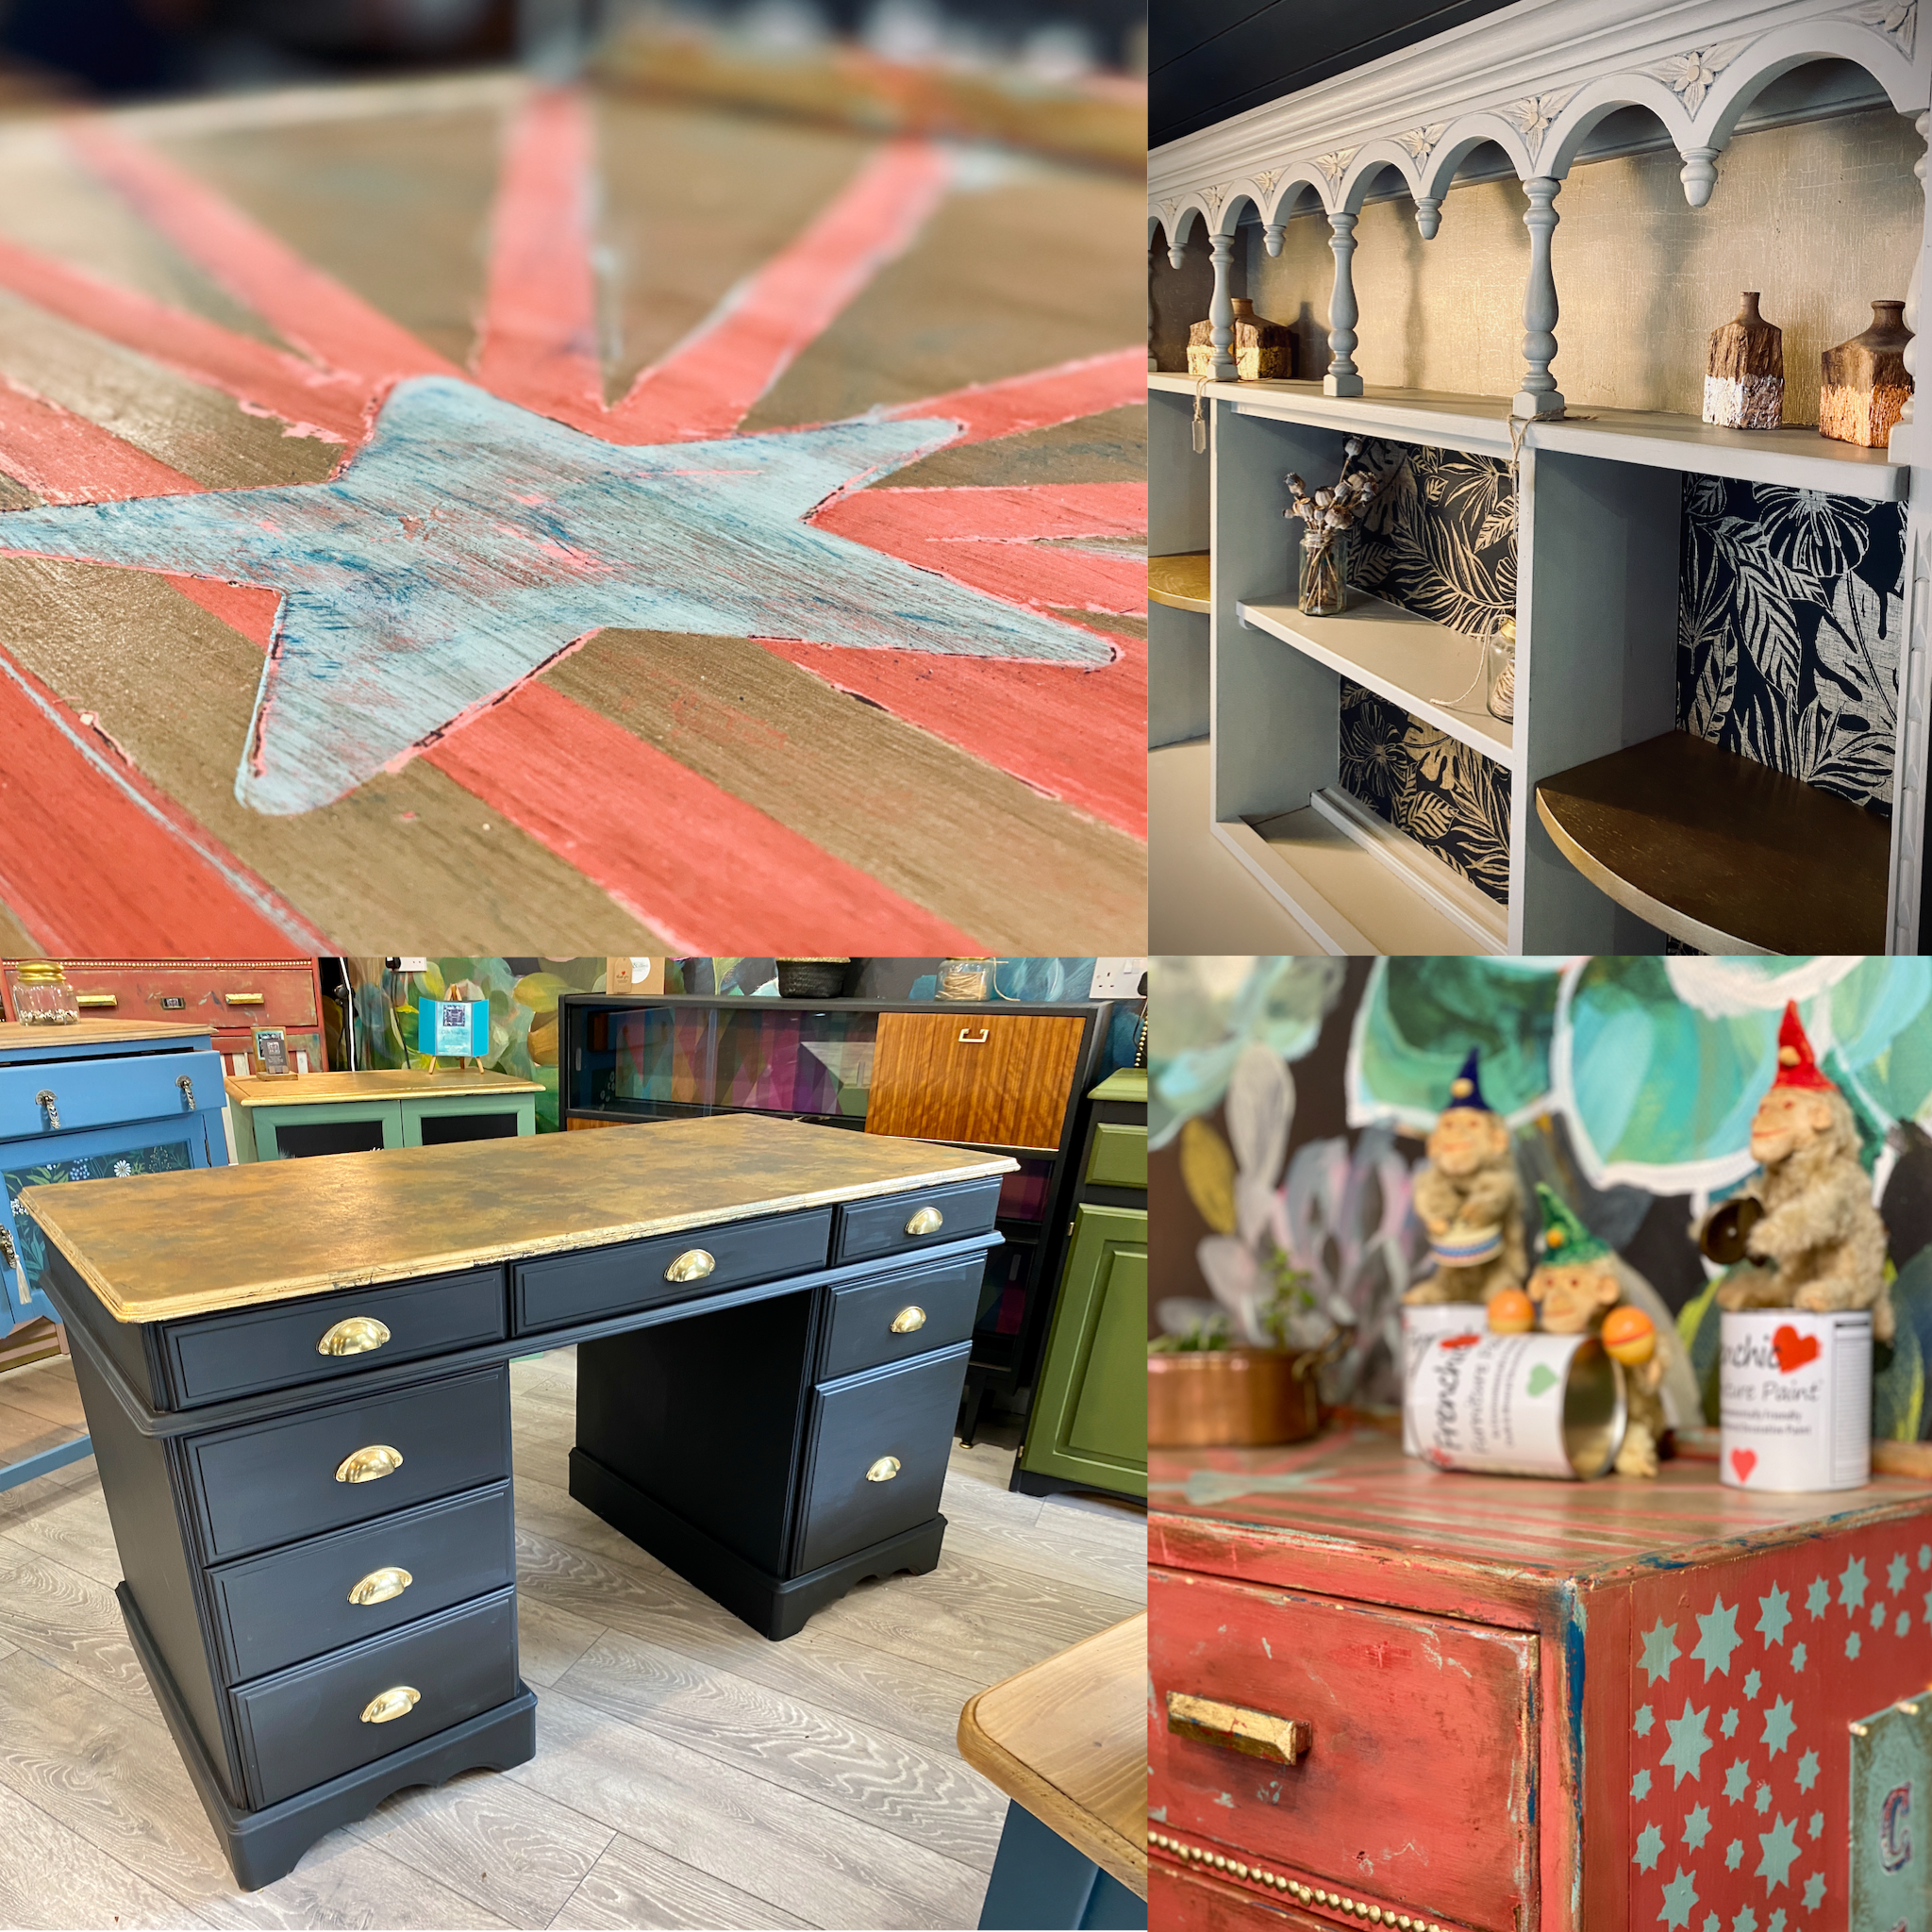
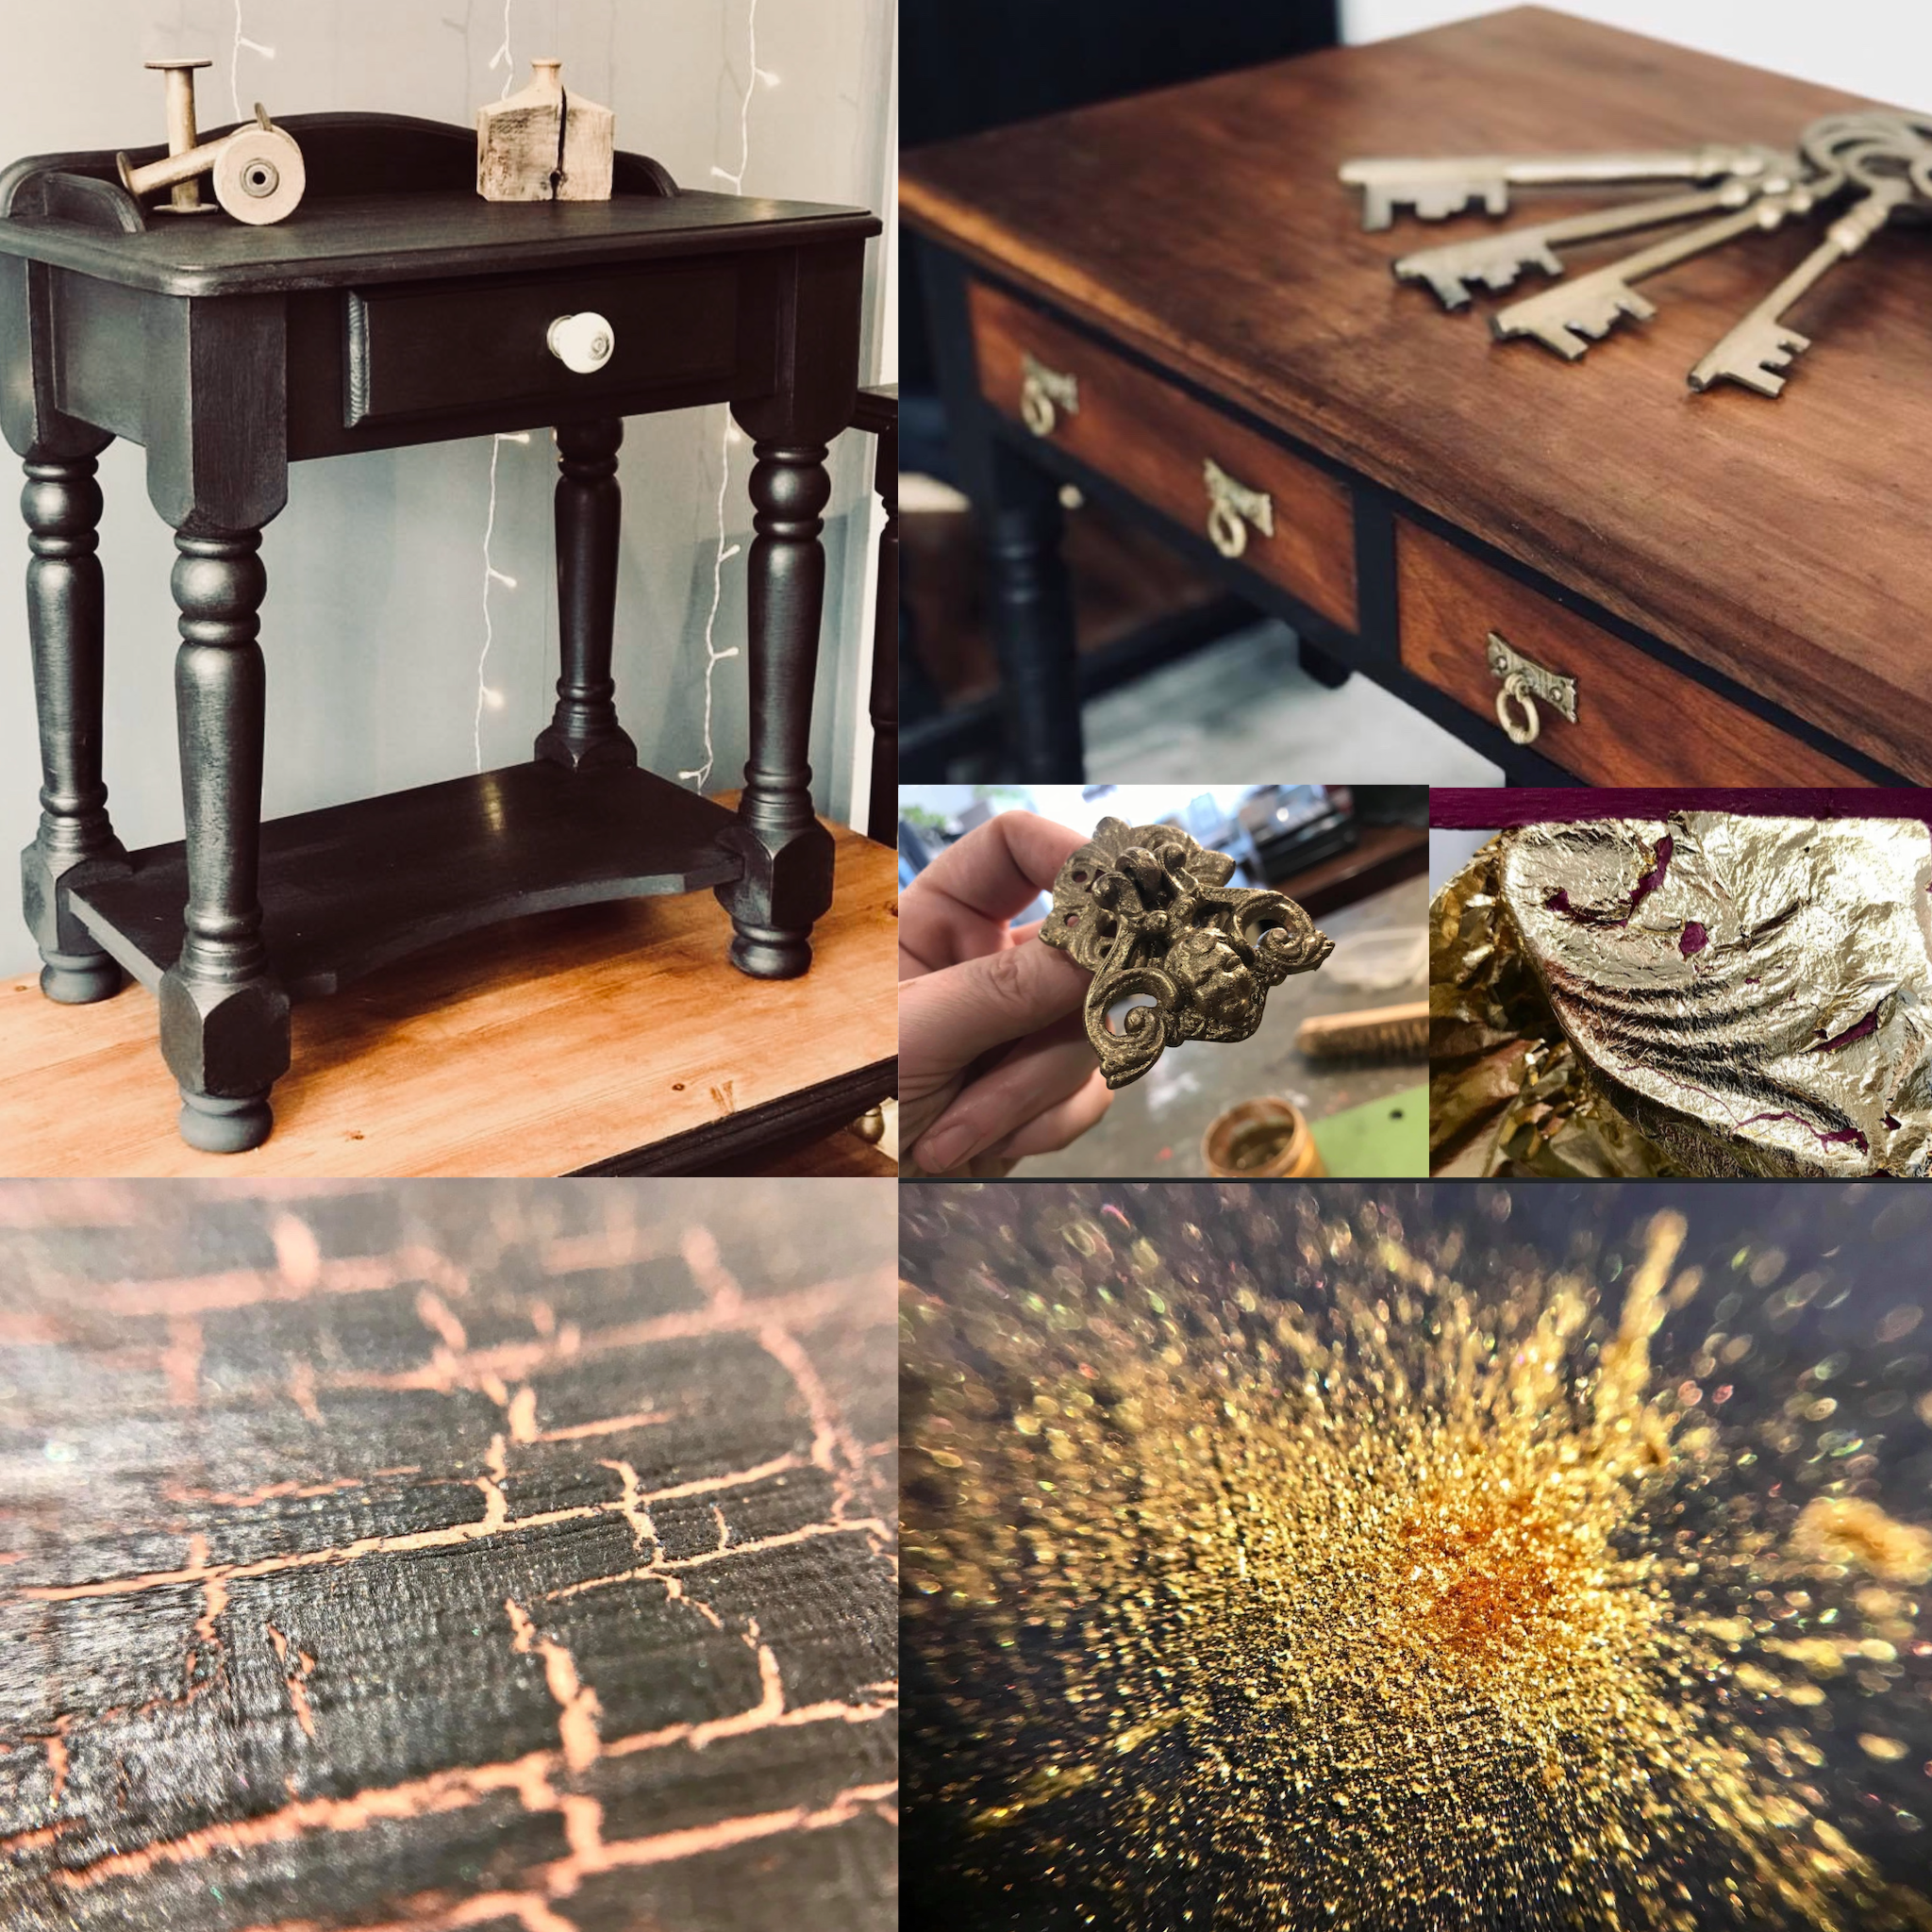
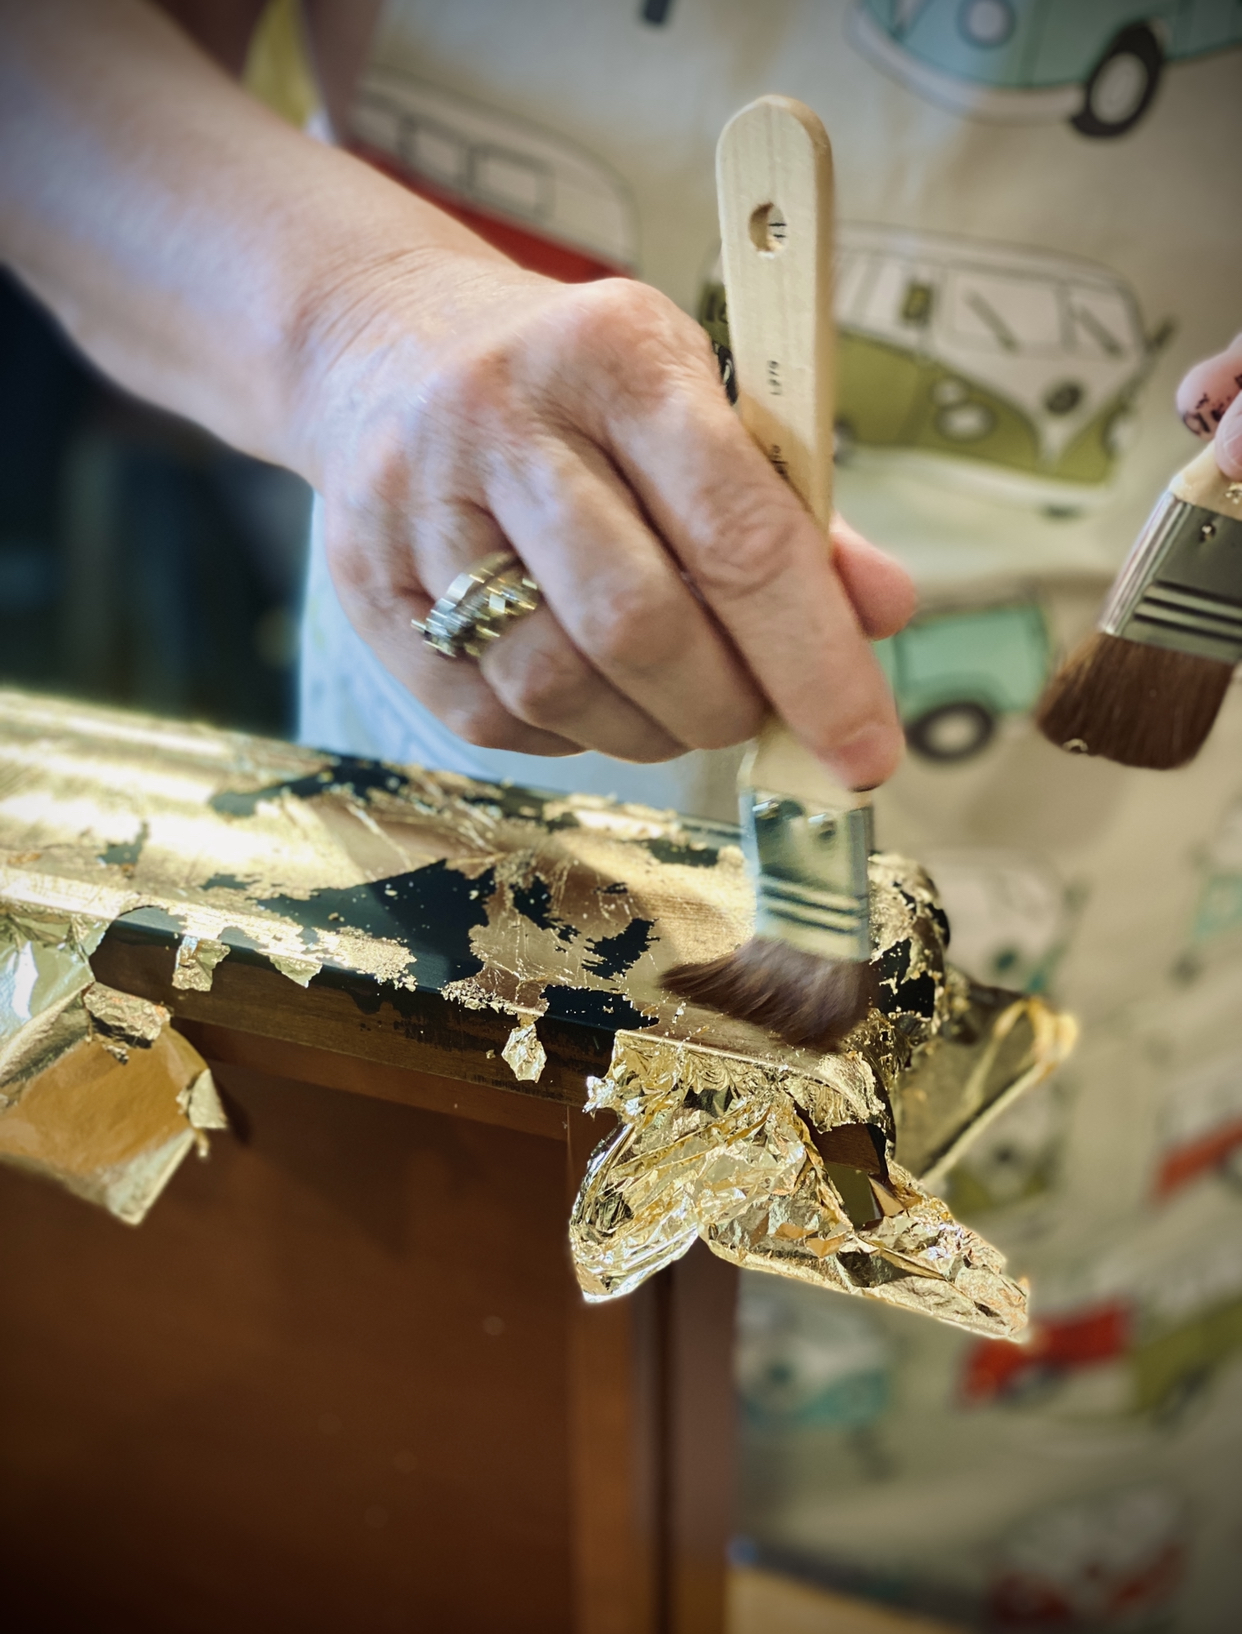
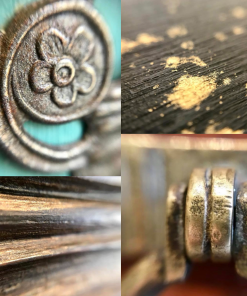
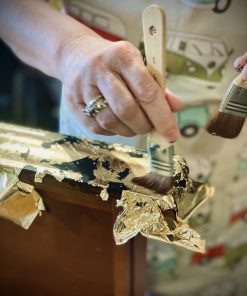
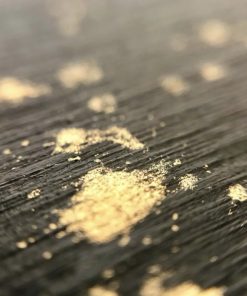
We will then start with the fun shiny stuff, make our own gilding waxes, paints, glazes and metallics using cosmetic grade mineral powders and pastes. We make these ahead of learning our next technique.
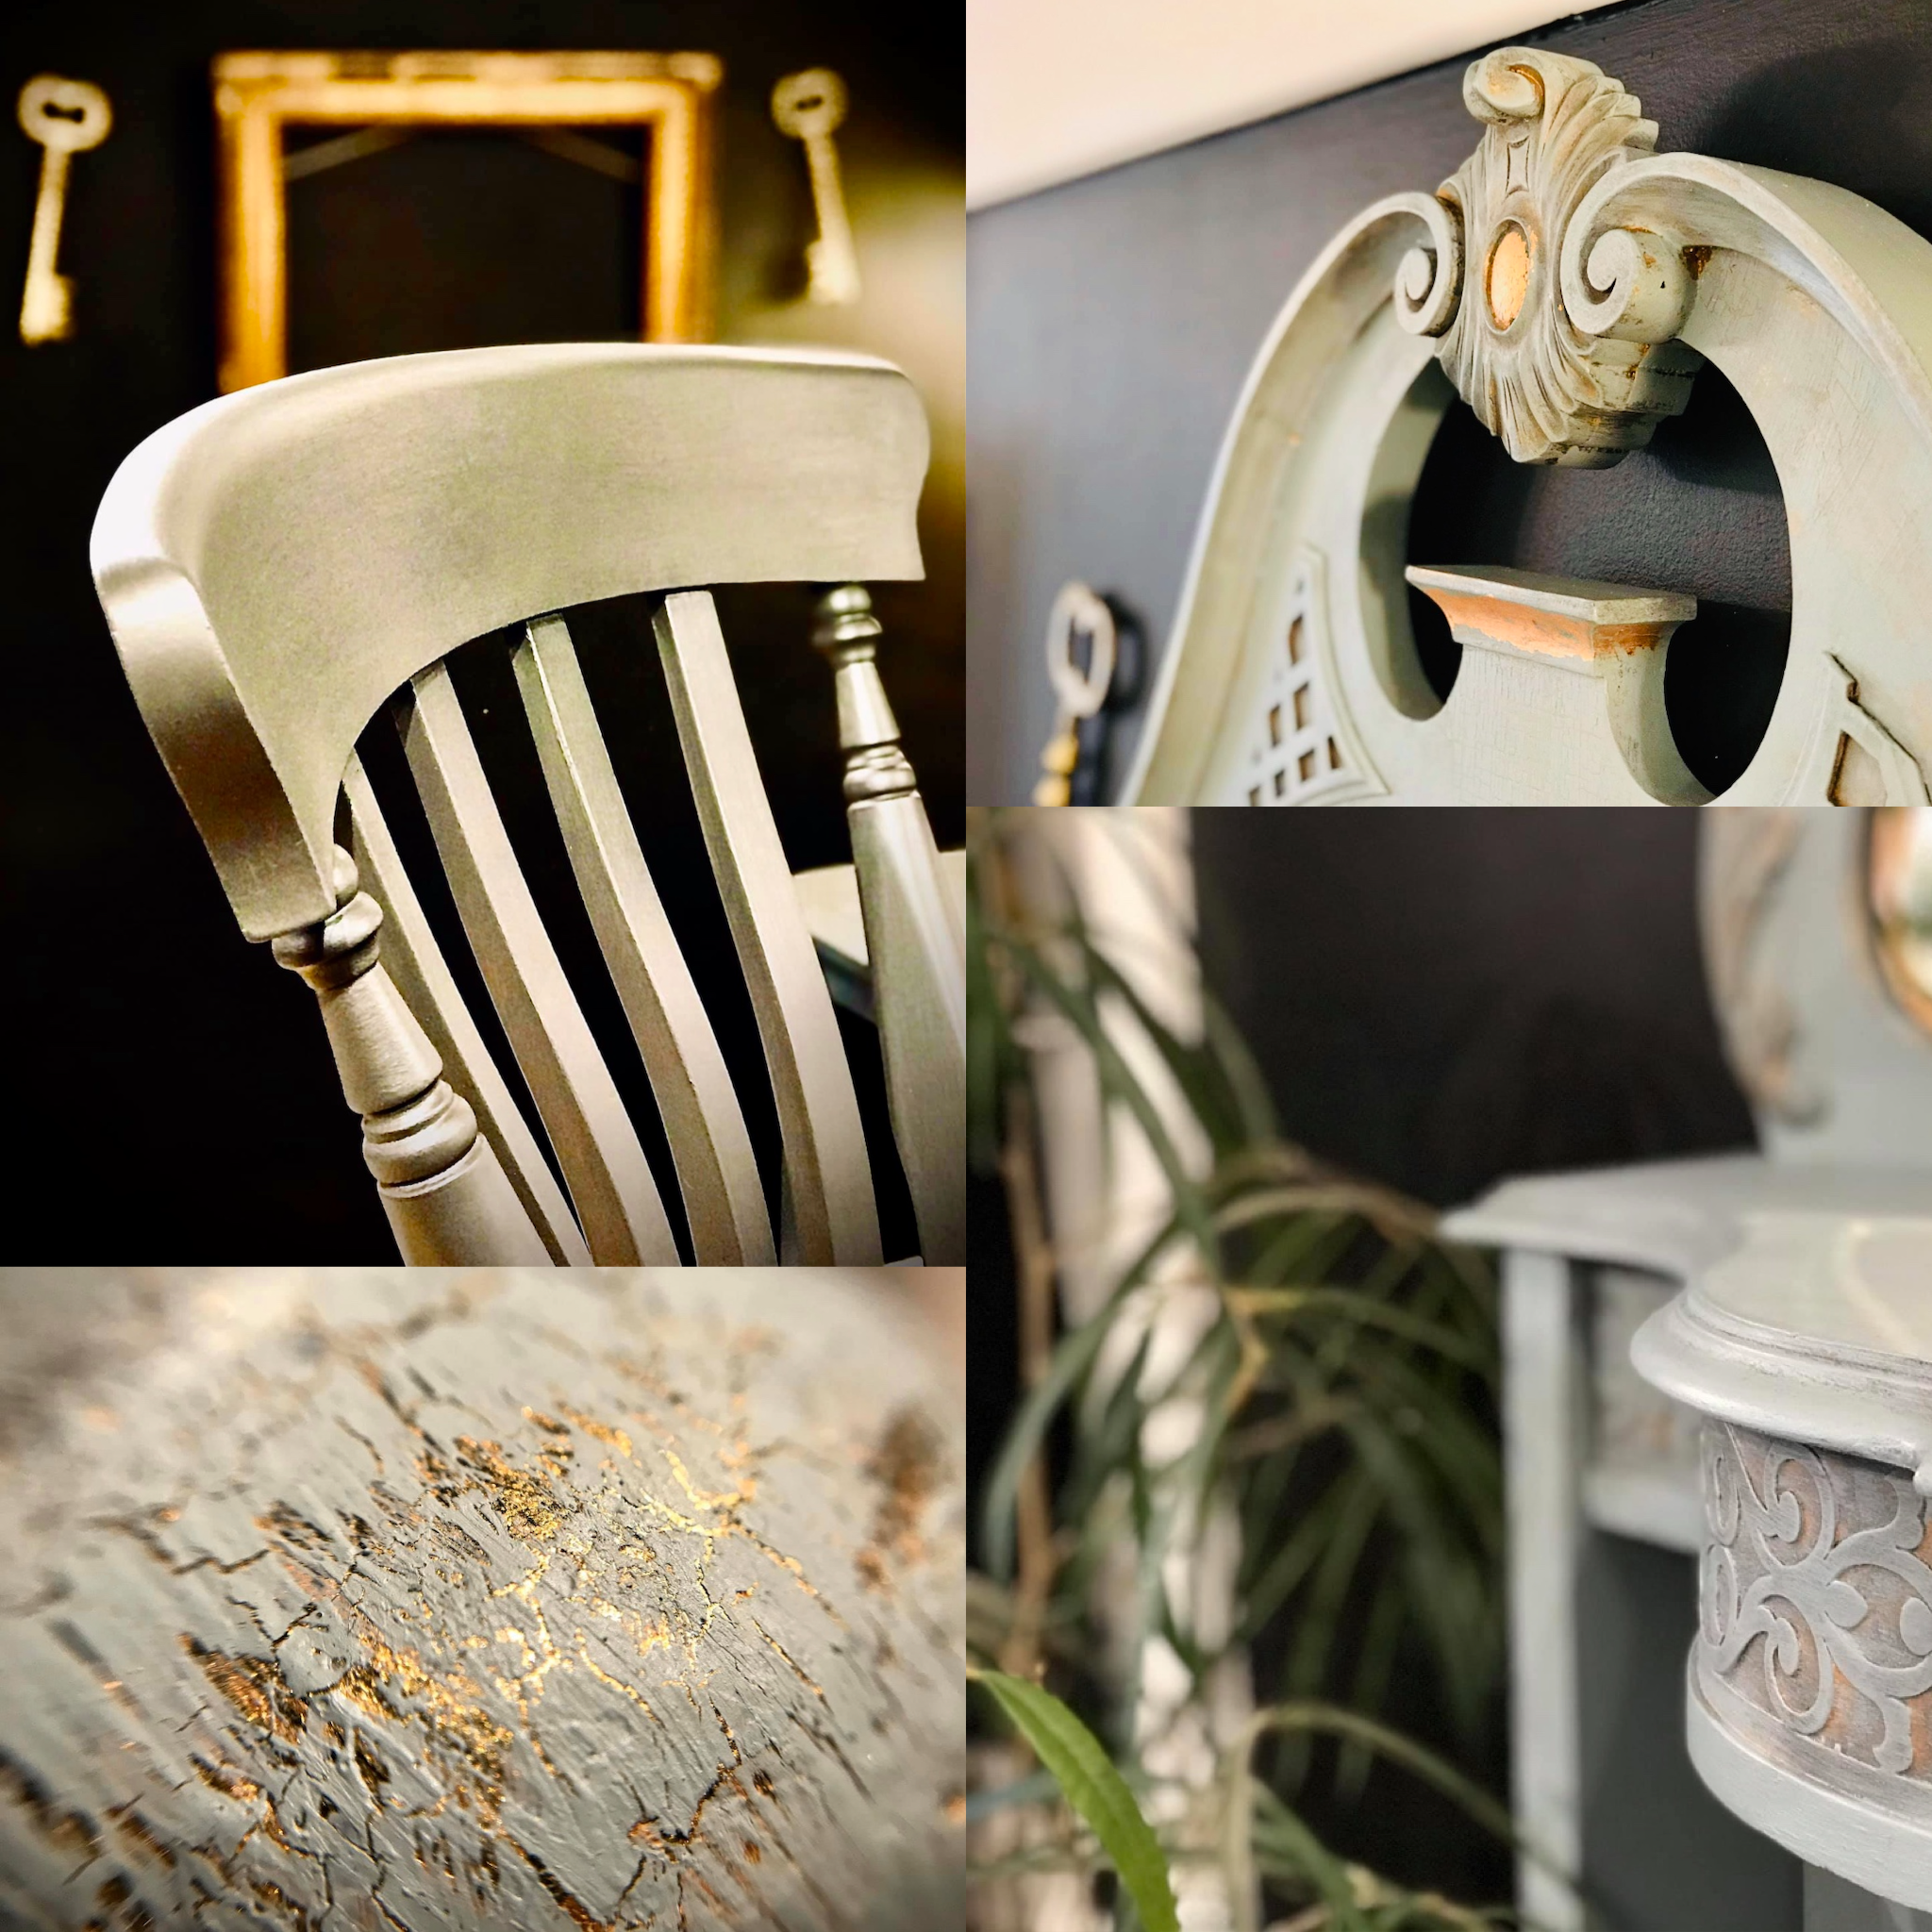
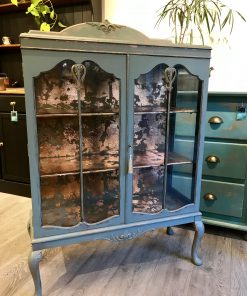
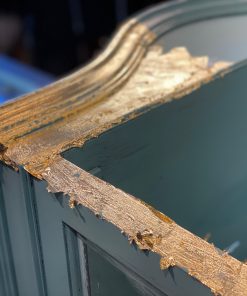
We will start to explore paint techniques such as crackiling, blending and layering to create the best base for a ‘Faded Granduer’ style.
We will then look at how to apply our own handmade gilding waxes, to a crackled effect area. This will continue into our next session.
Session 6: Effects & Adornment (2) – Studio based session
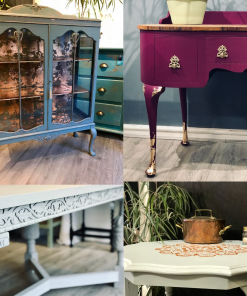
During this session we look at interior design and we will continue to work on our Faded Grandeur style until complete.
We will also look at the following styles:
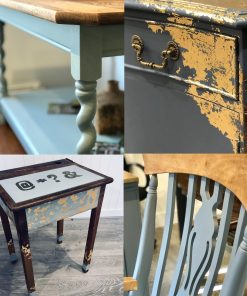
Gold paint finishes – from Blingy to Antiquated.
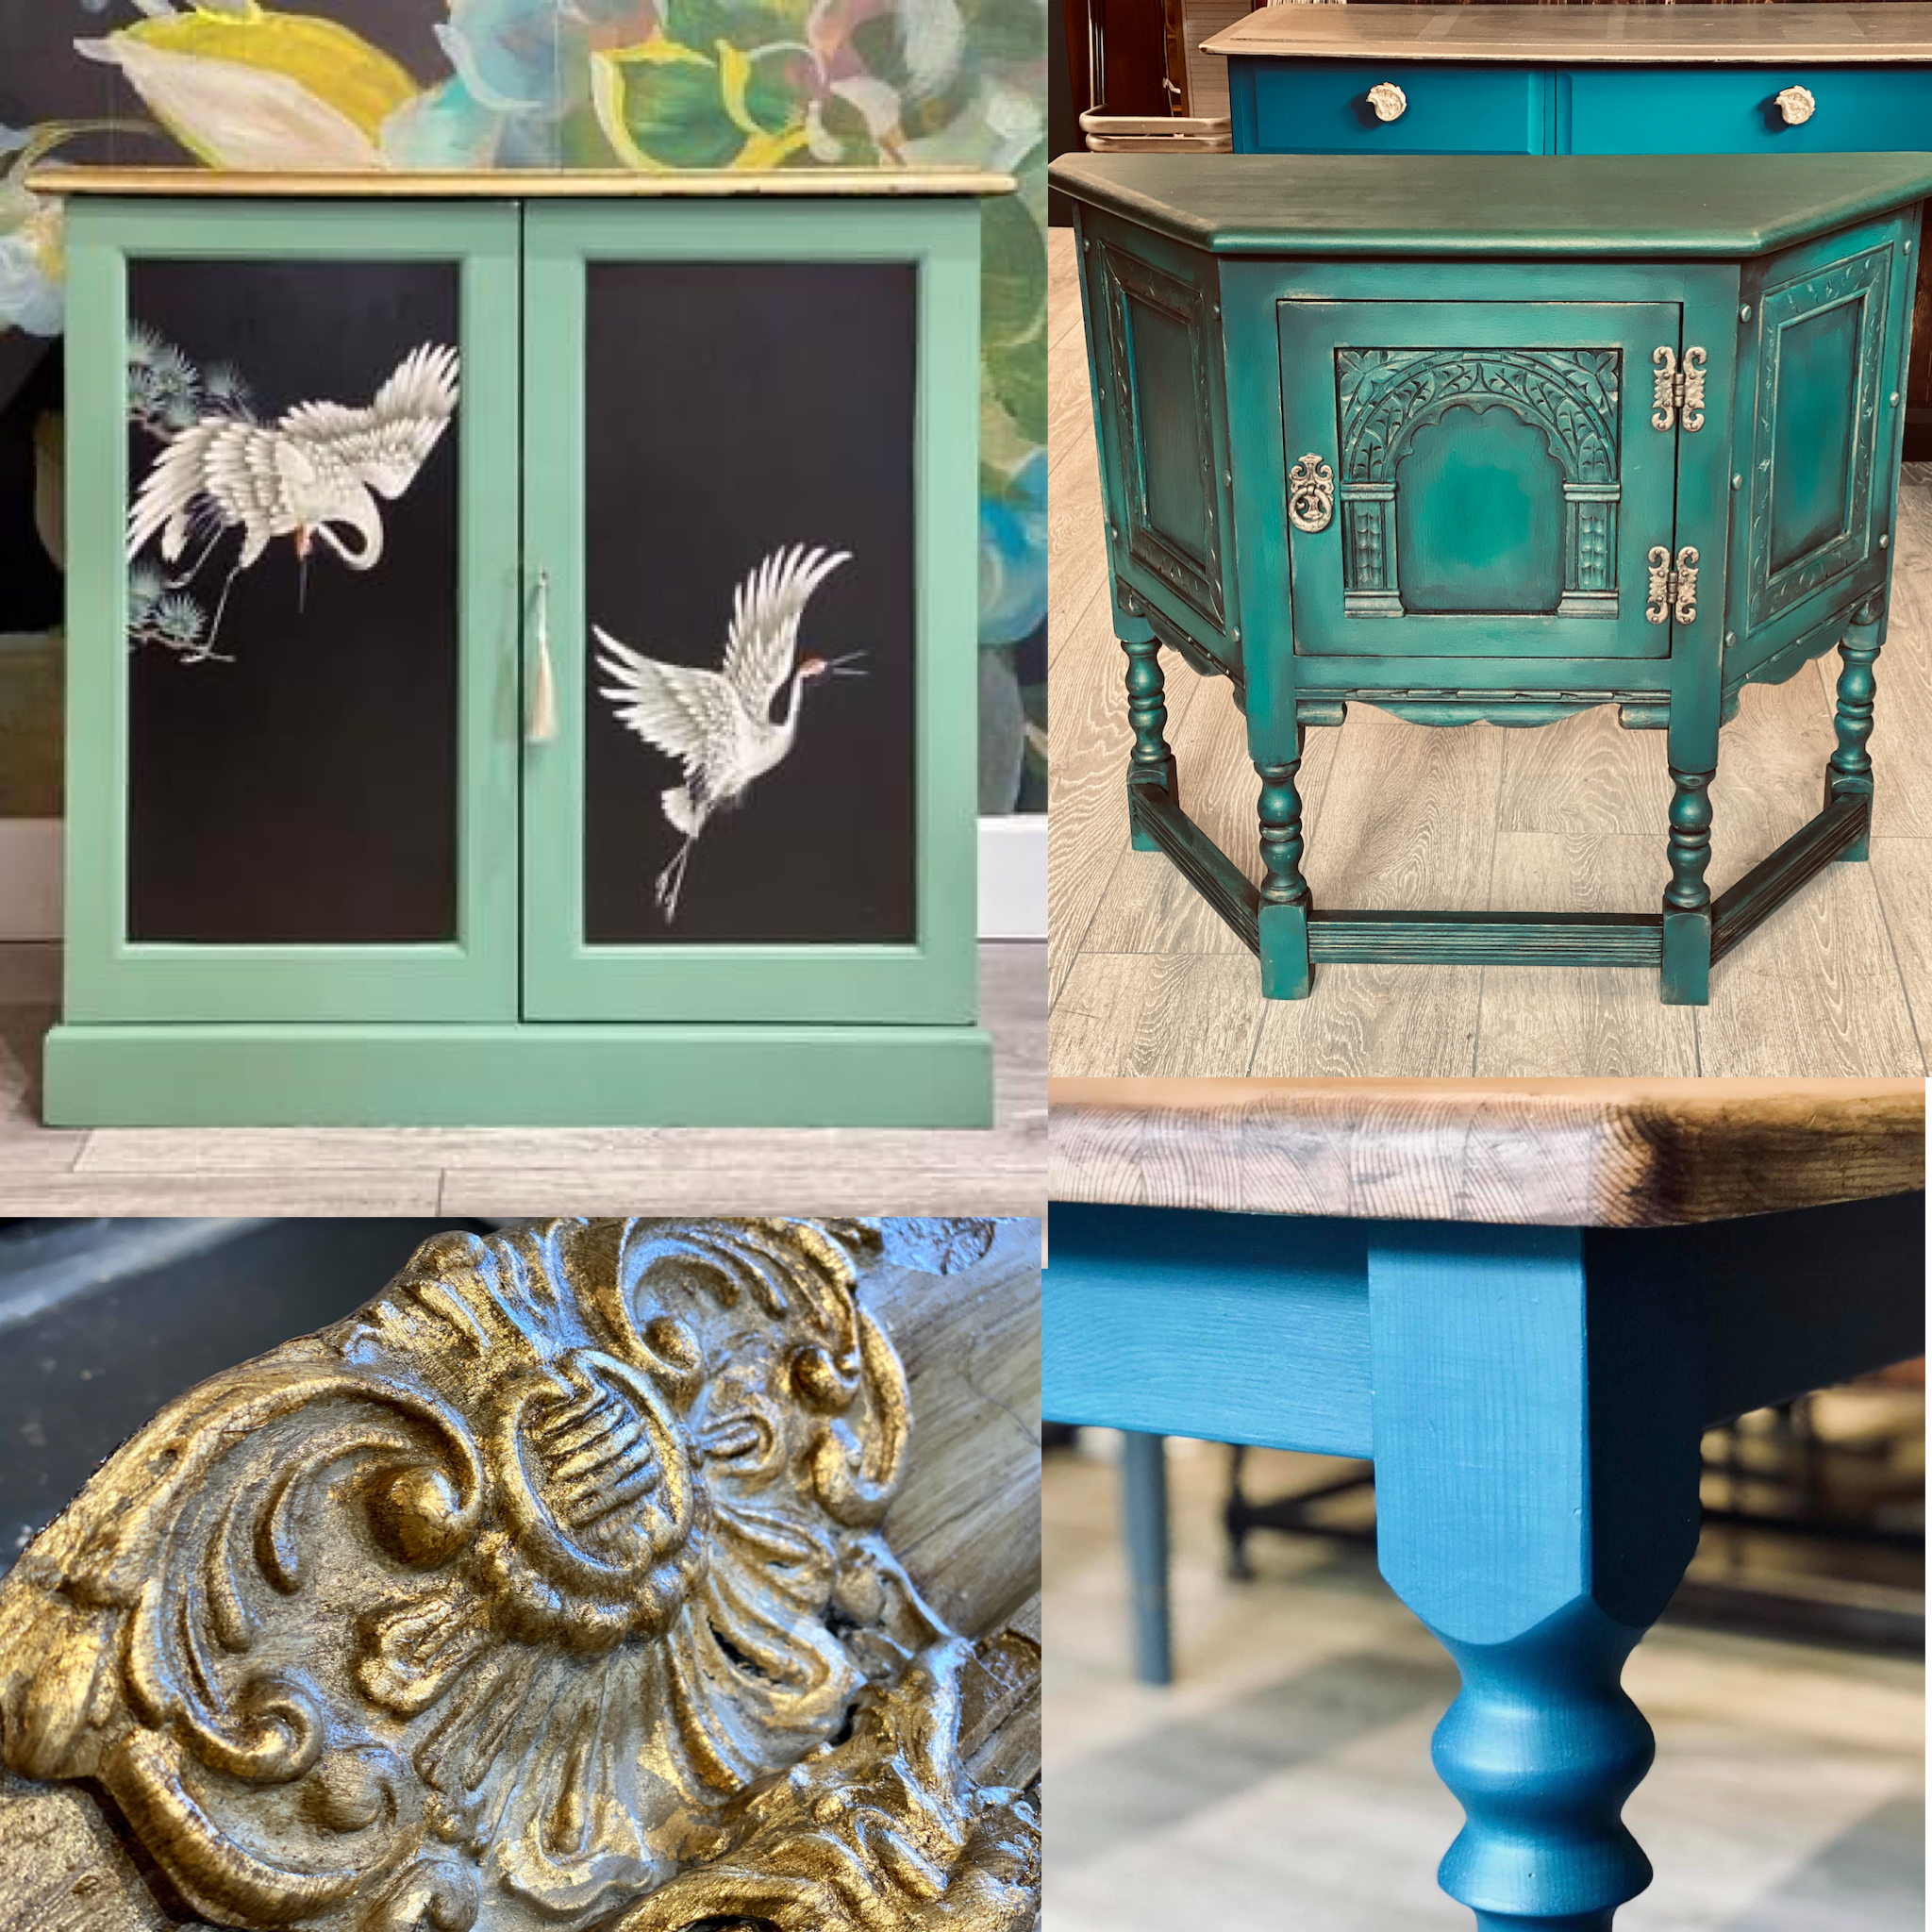
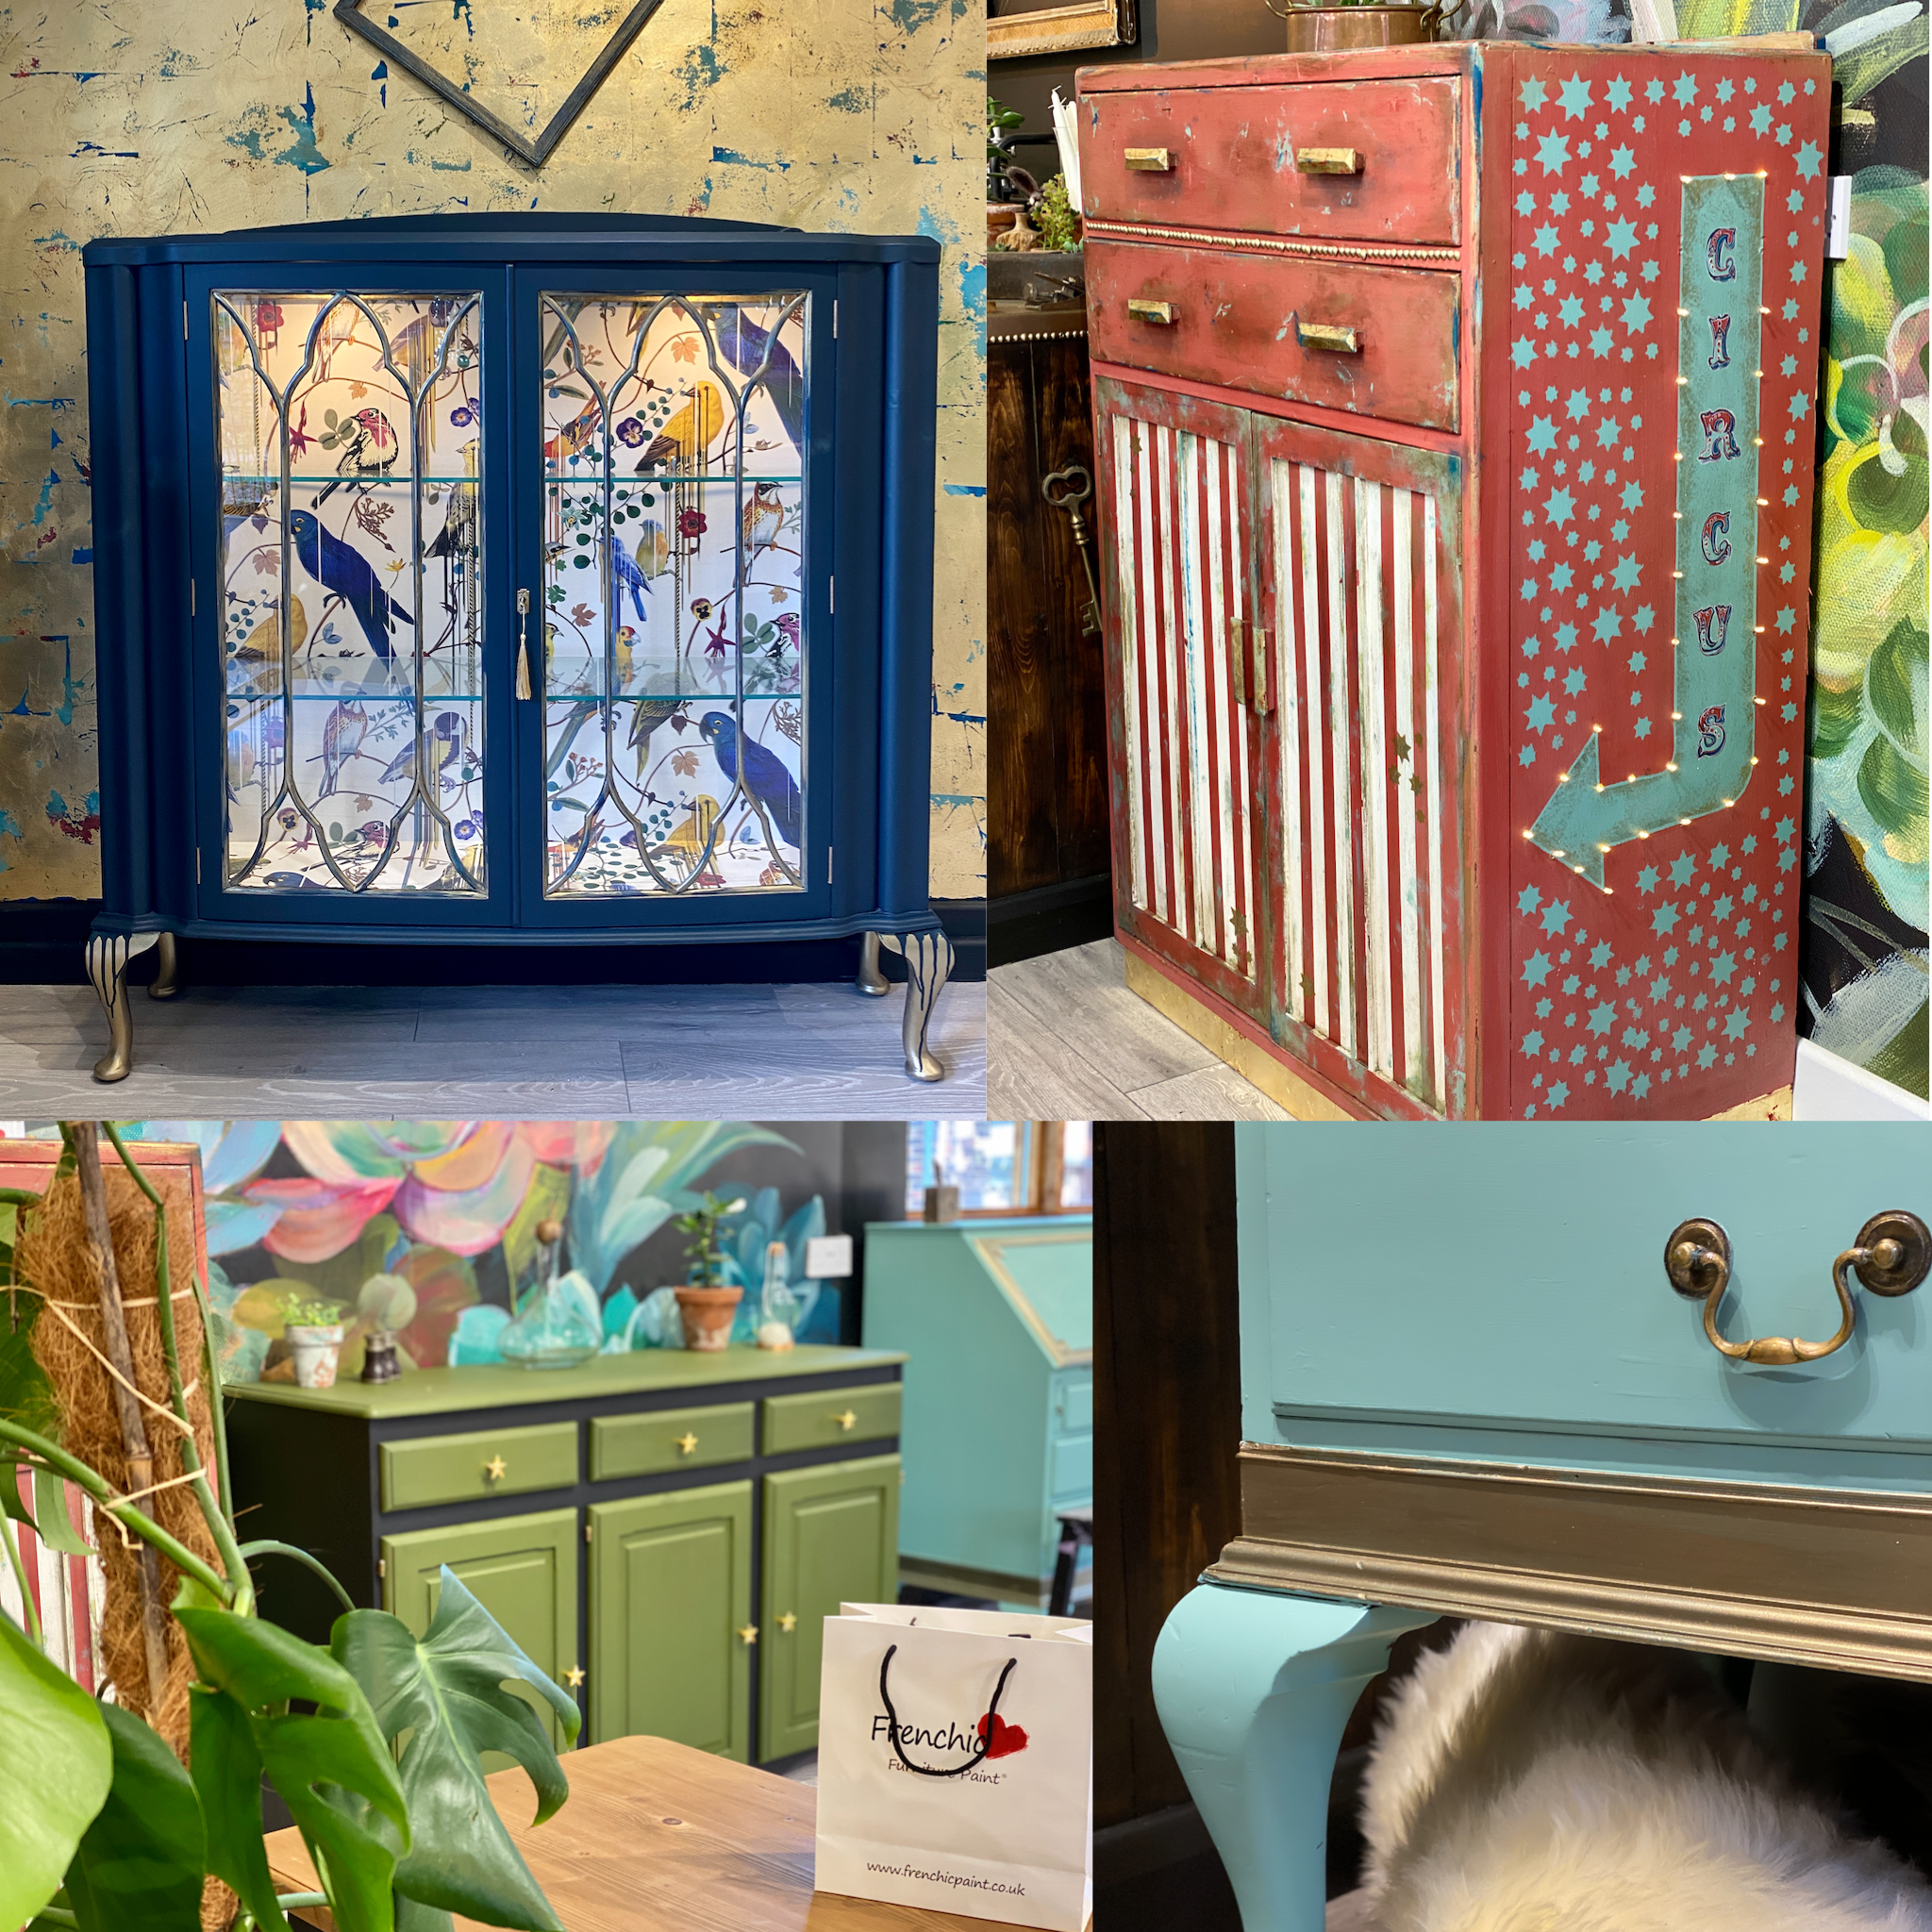
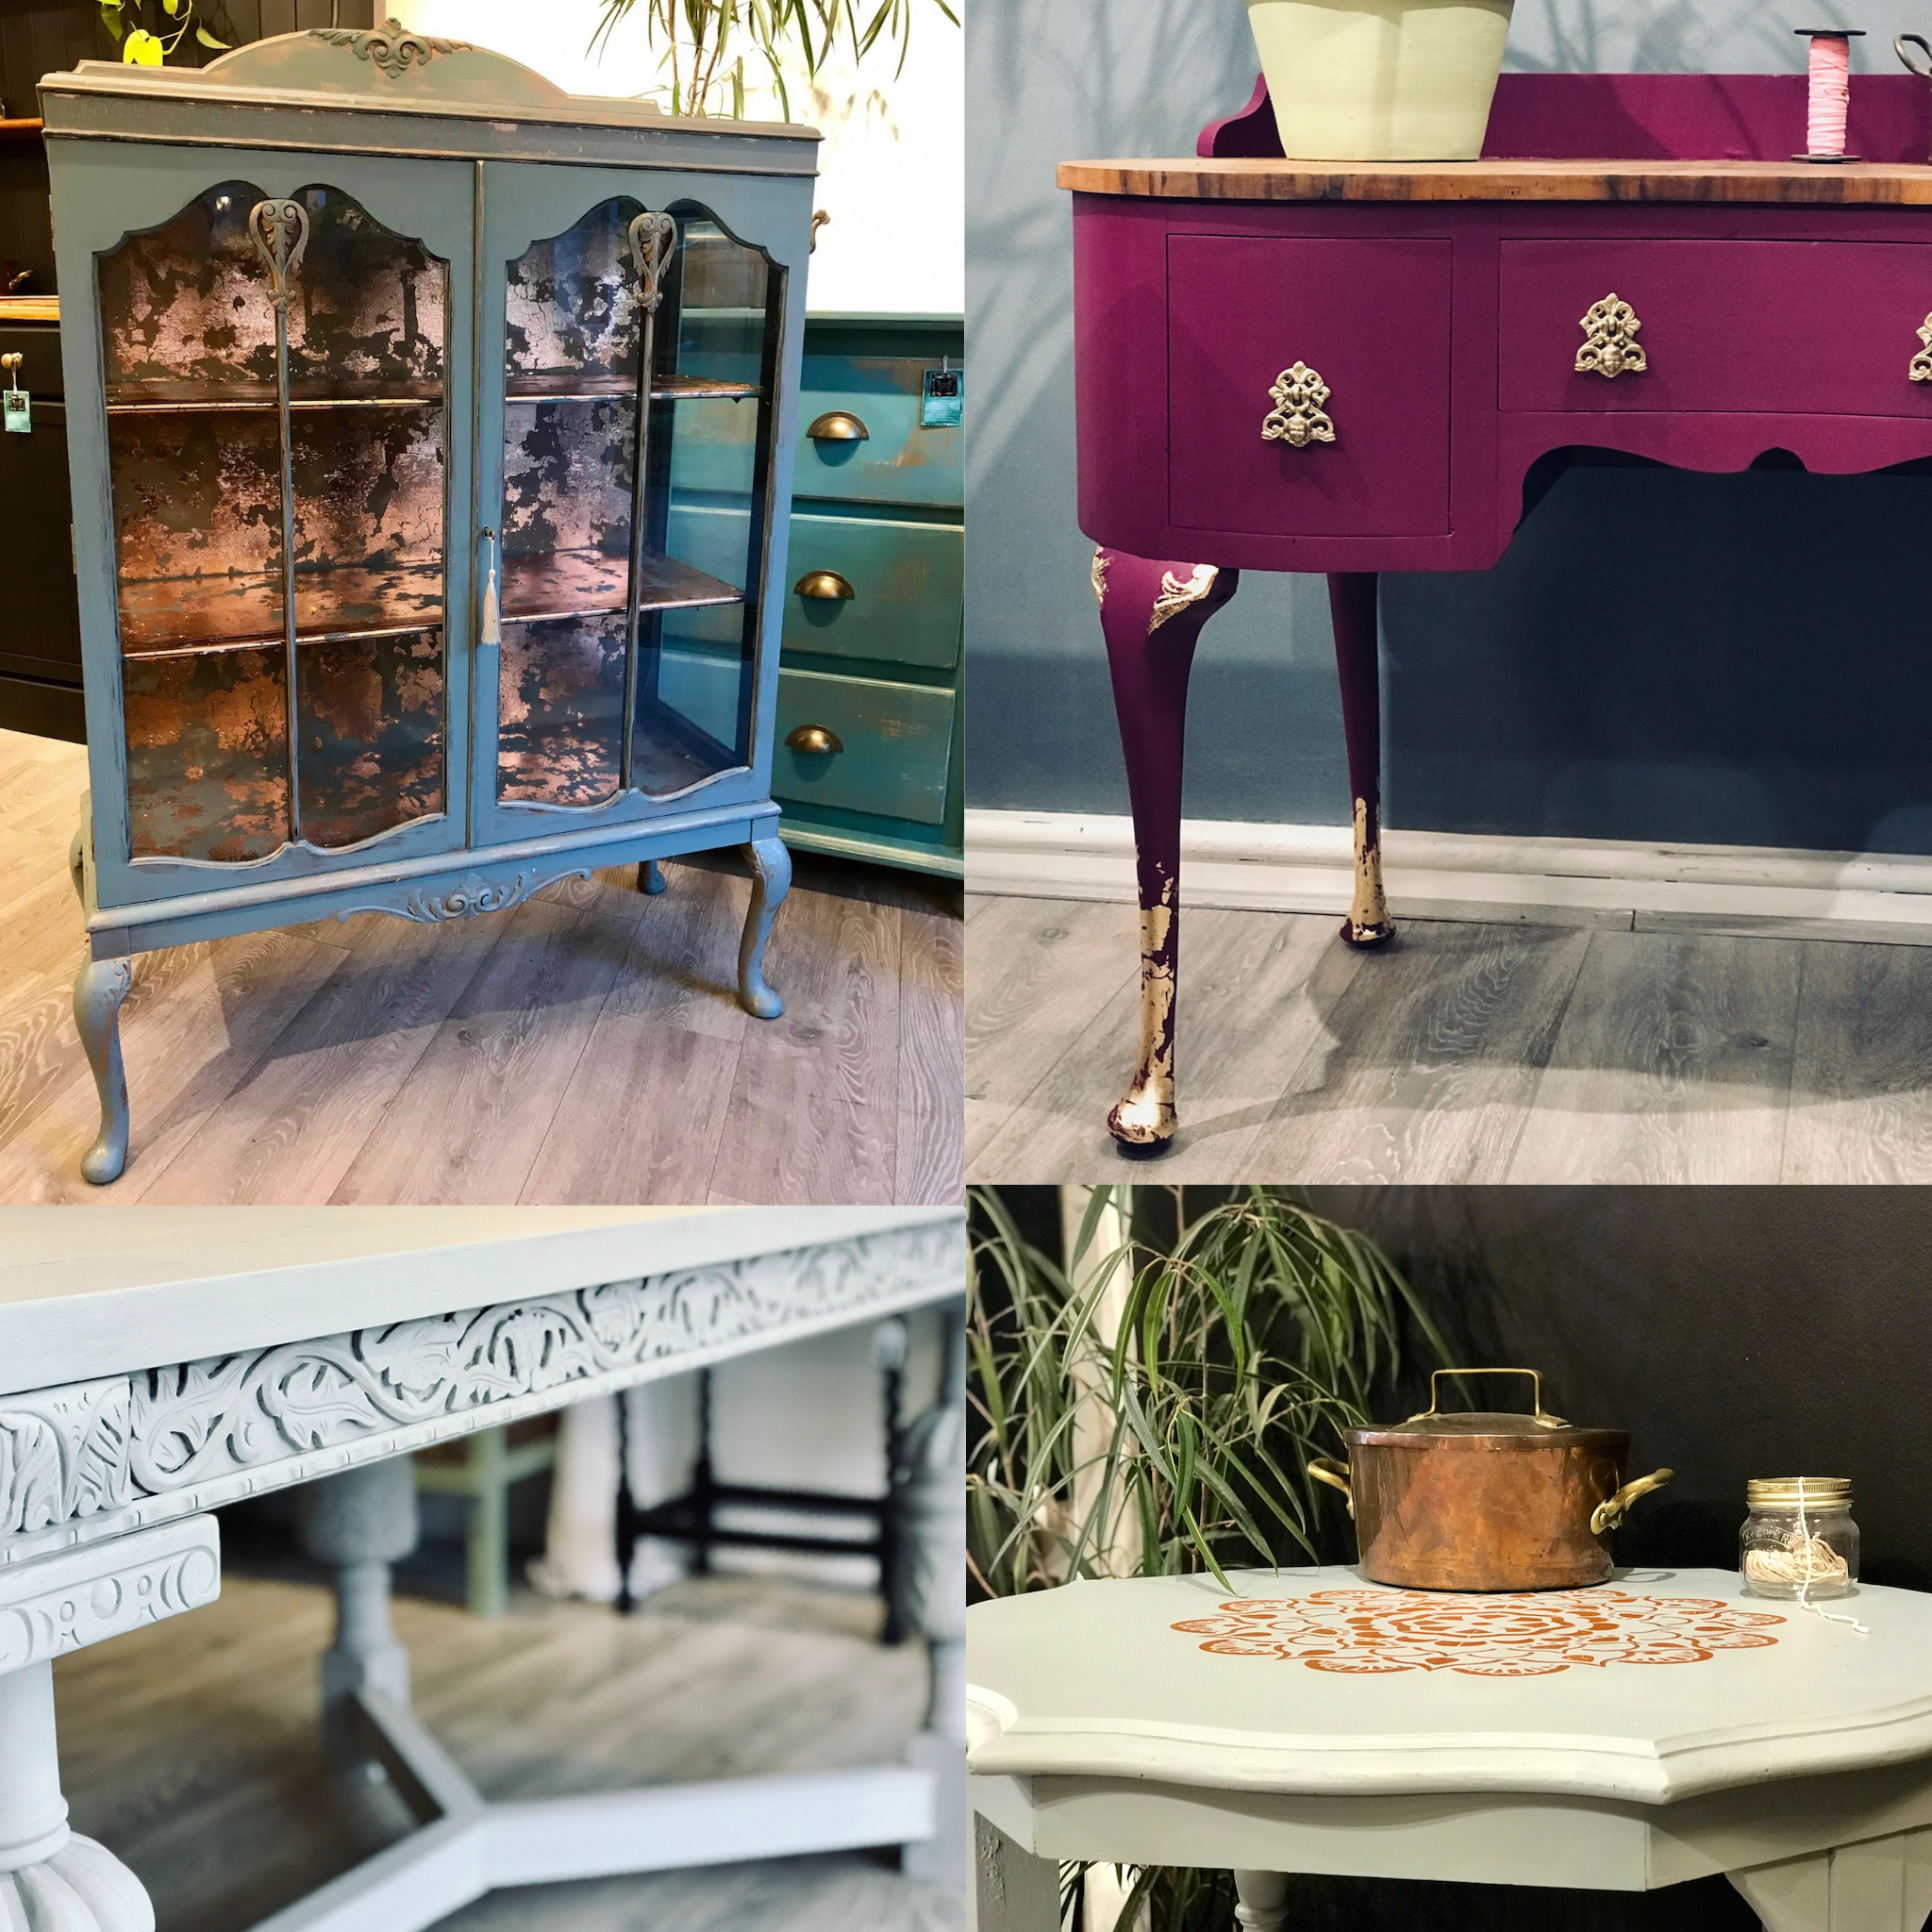
Bright & Beautiful – How to use the colour wheel to choose both contrast and matches for your bold colour choices.
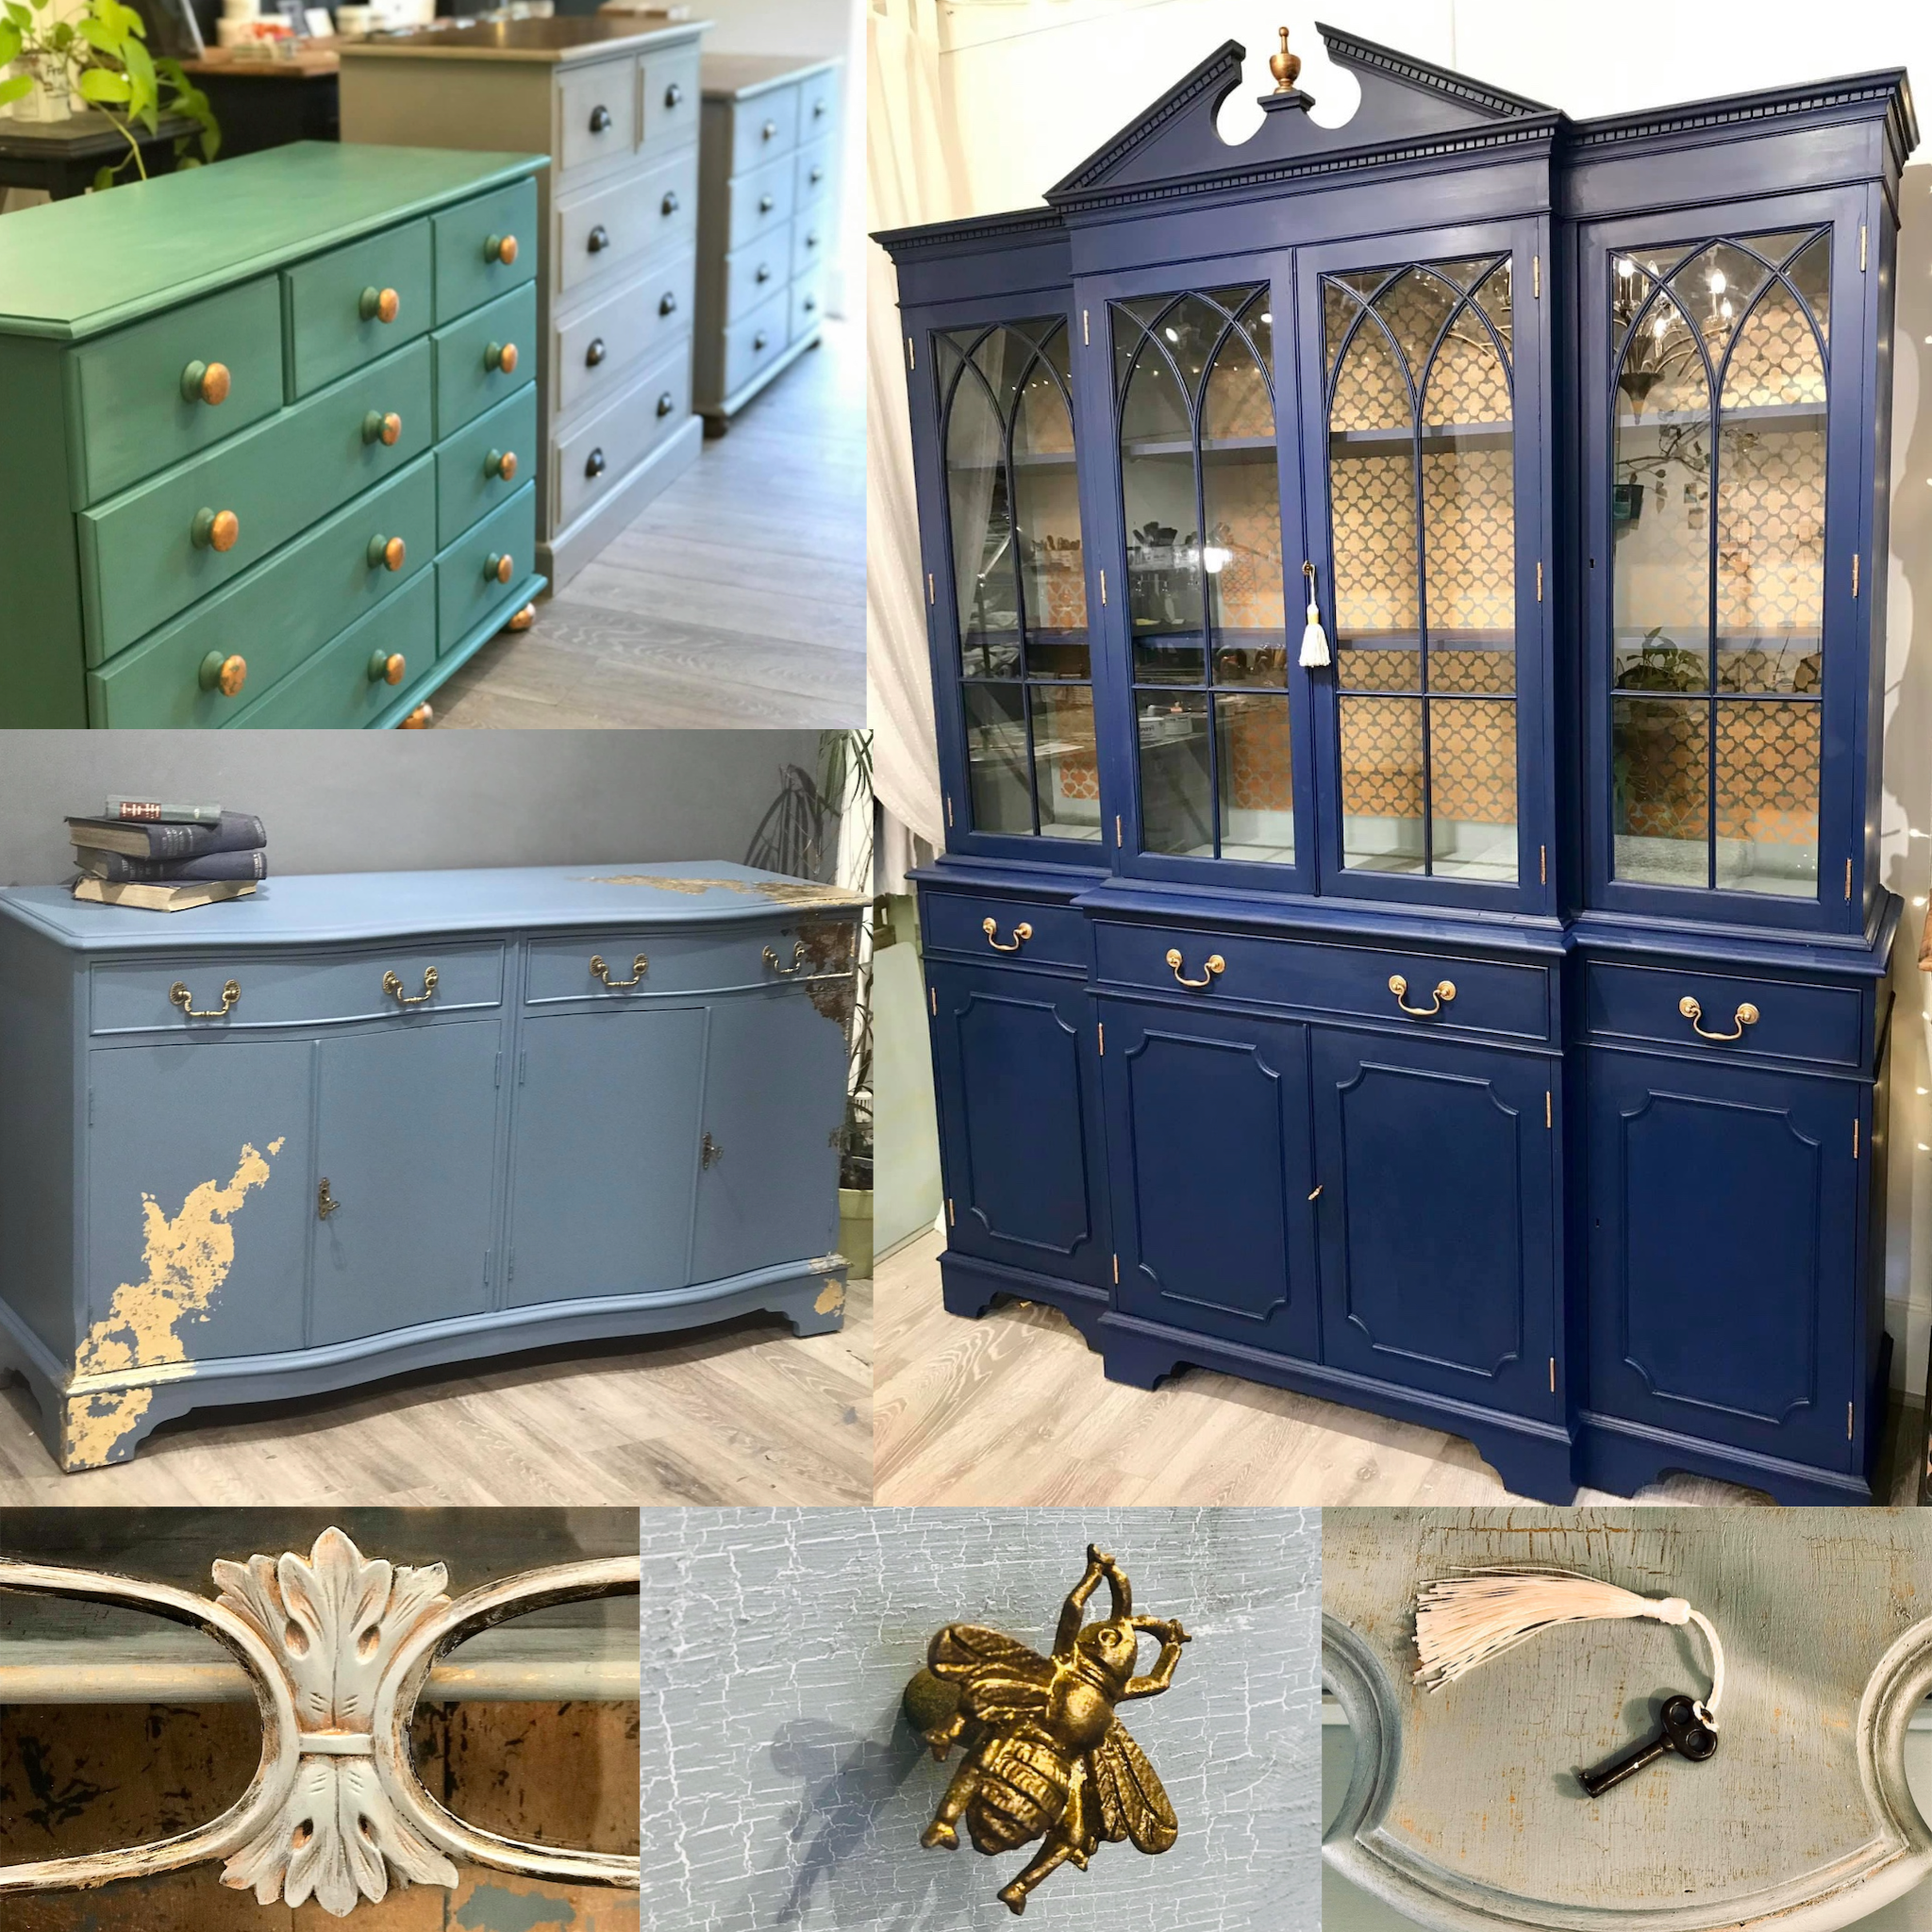
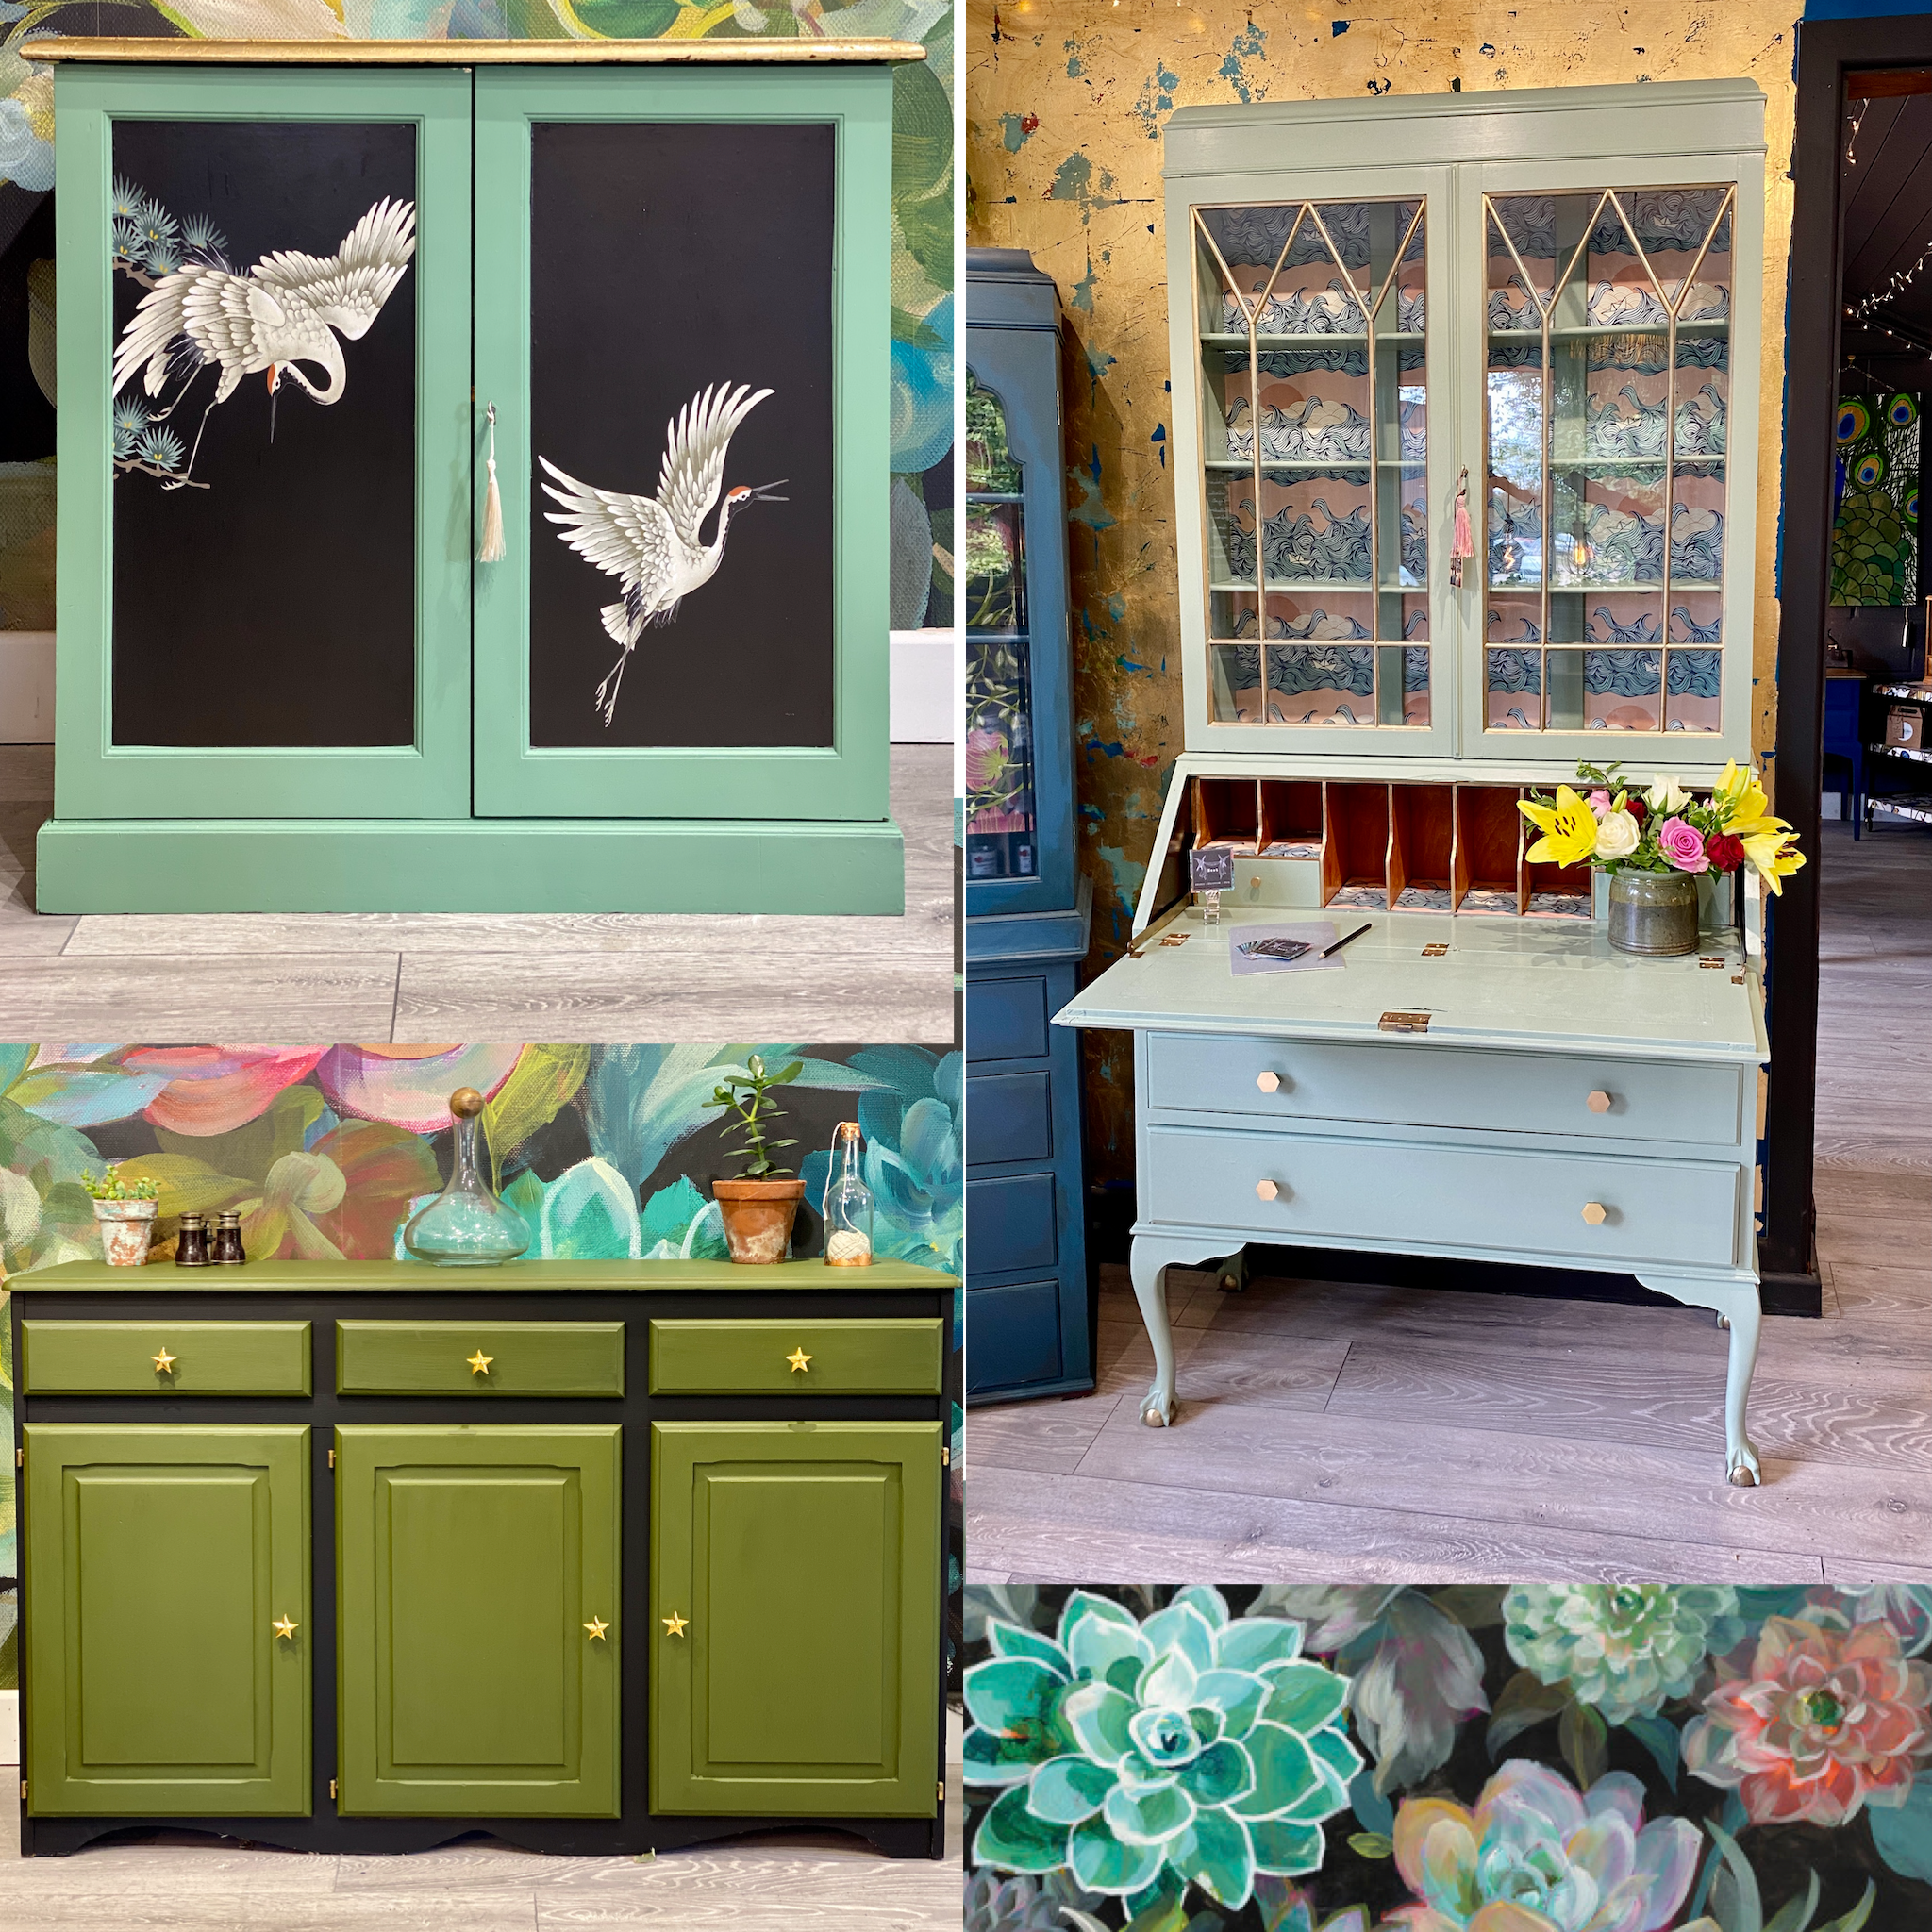
Cohesion through colour – We’ll look at how to obtain a cohesive look on a low budget by choosing a lead colour. No matter what different styles of furniture you have, there are simple tricks to draw it all together.
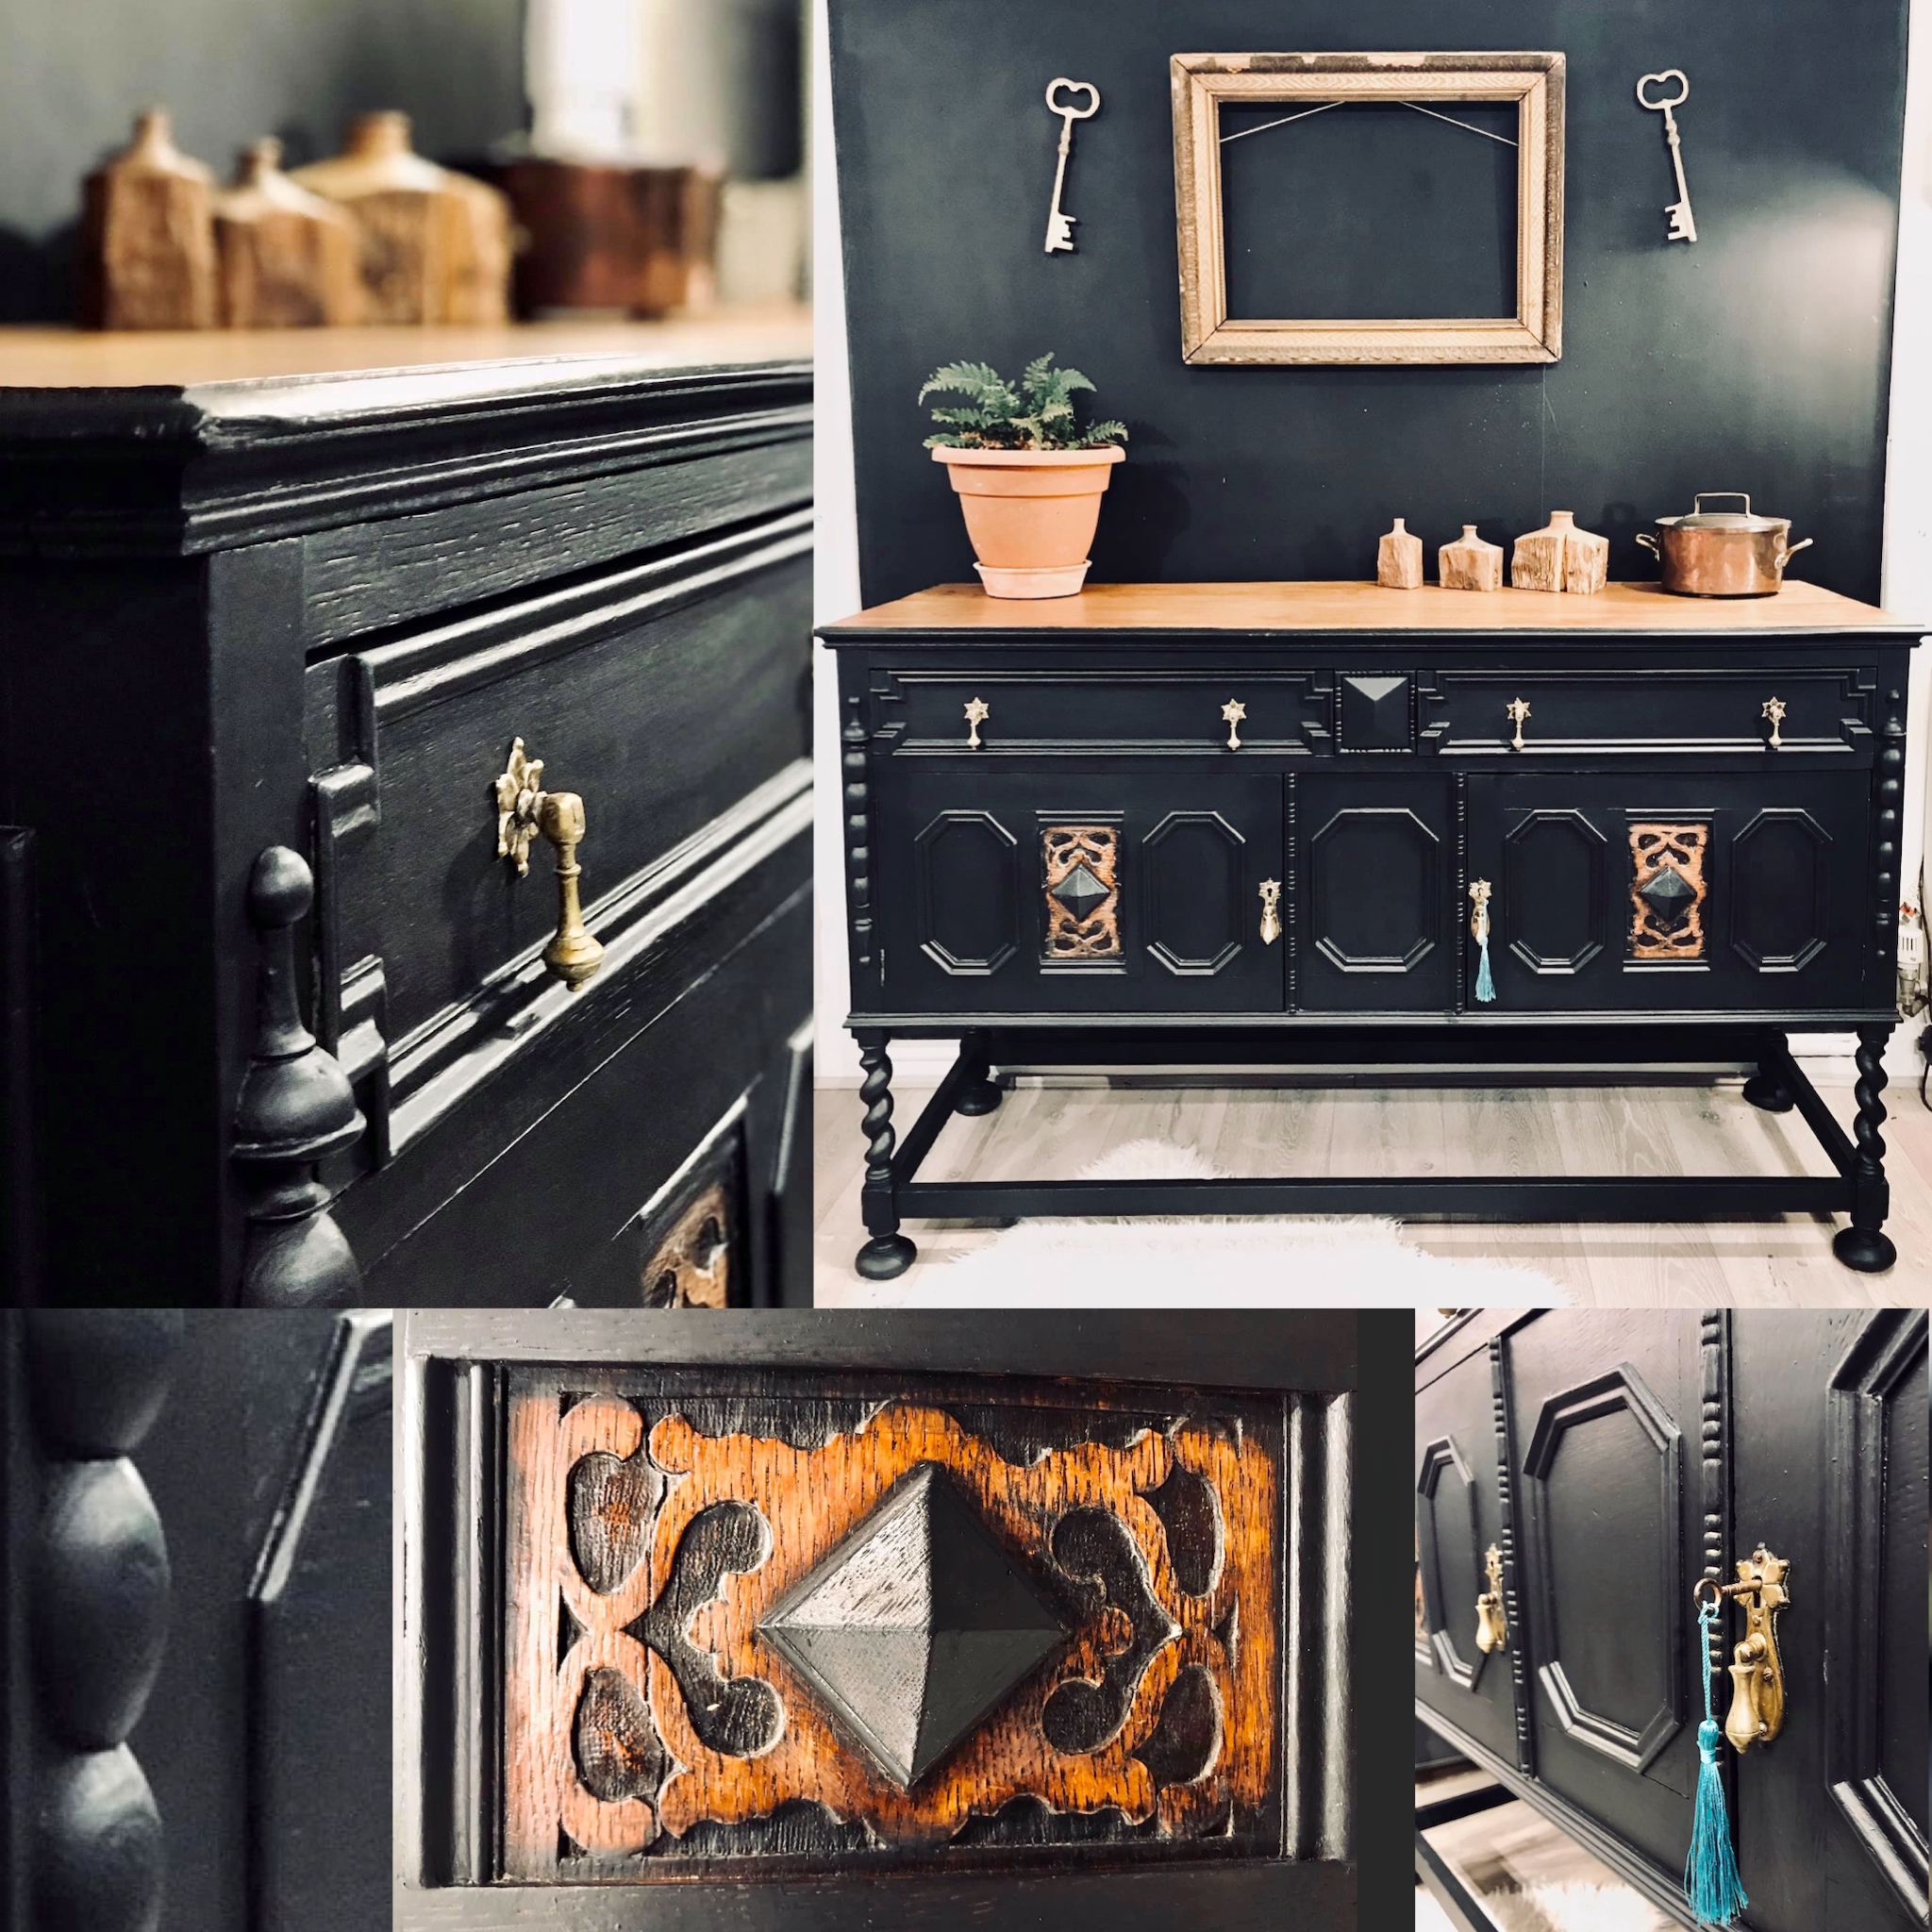
Back to Black – When to go dark and how to make it pop with colour and effects.
Beach and Scandi styles – how to achieve the whitewashed look on wood and paint.
Paint spraying – We will briefly touch on the pros and cons of spraying and what sprayers we recommend.
Rustic styles – How to make new wood look old. Take your cheap, modern pine further.
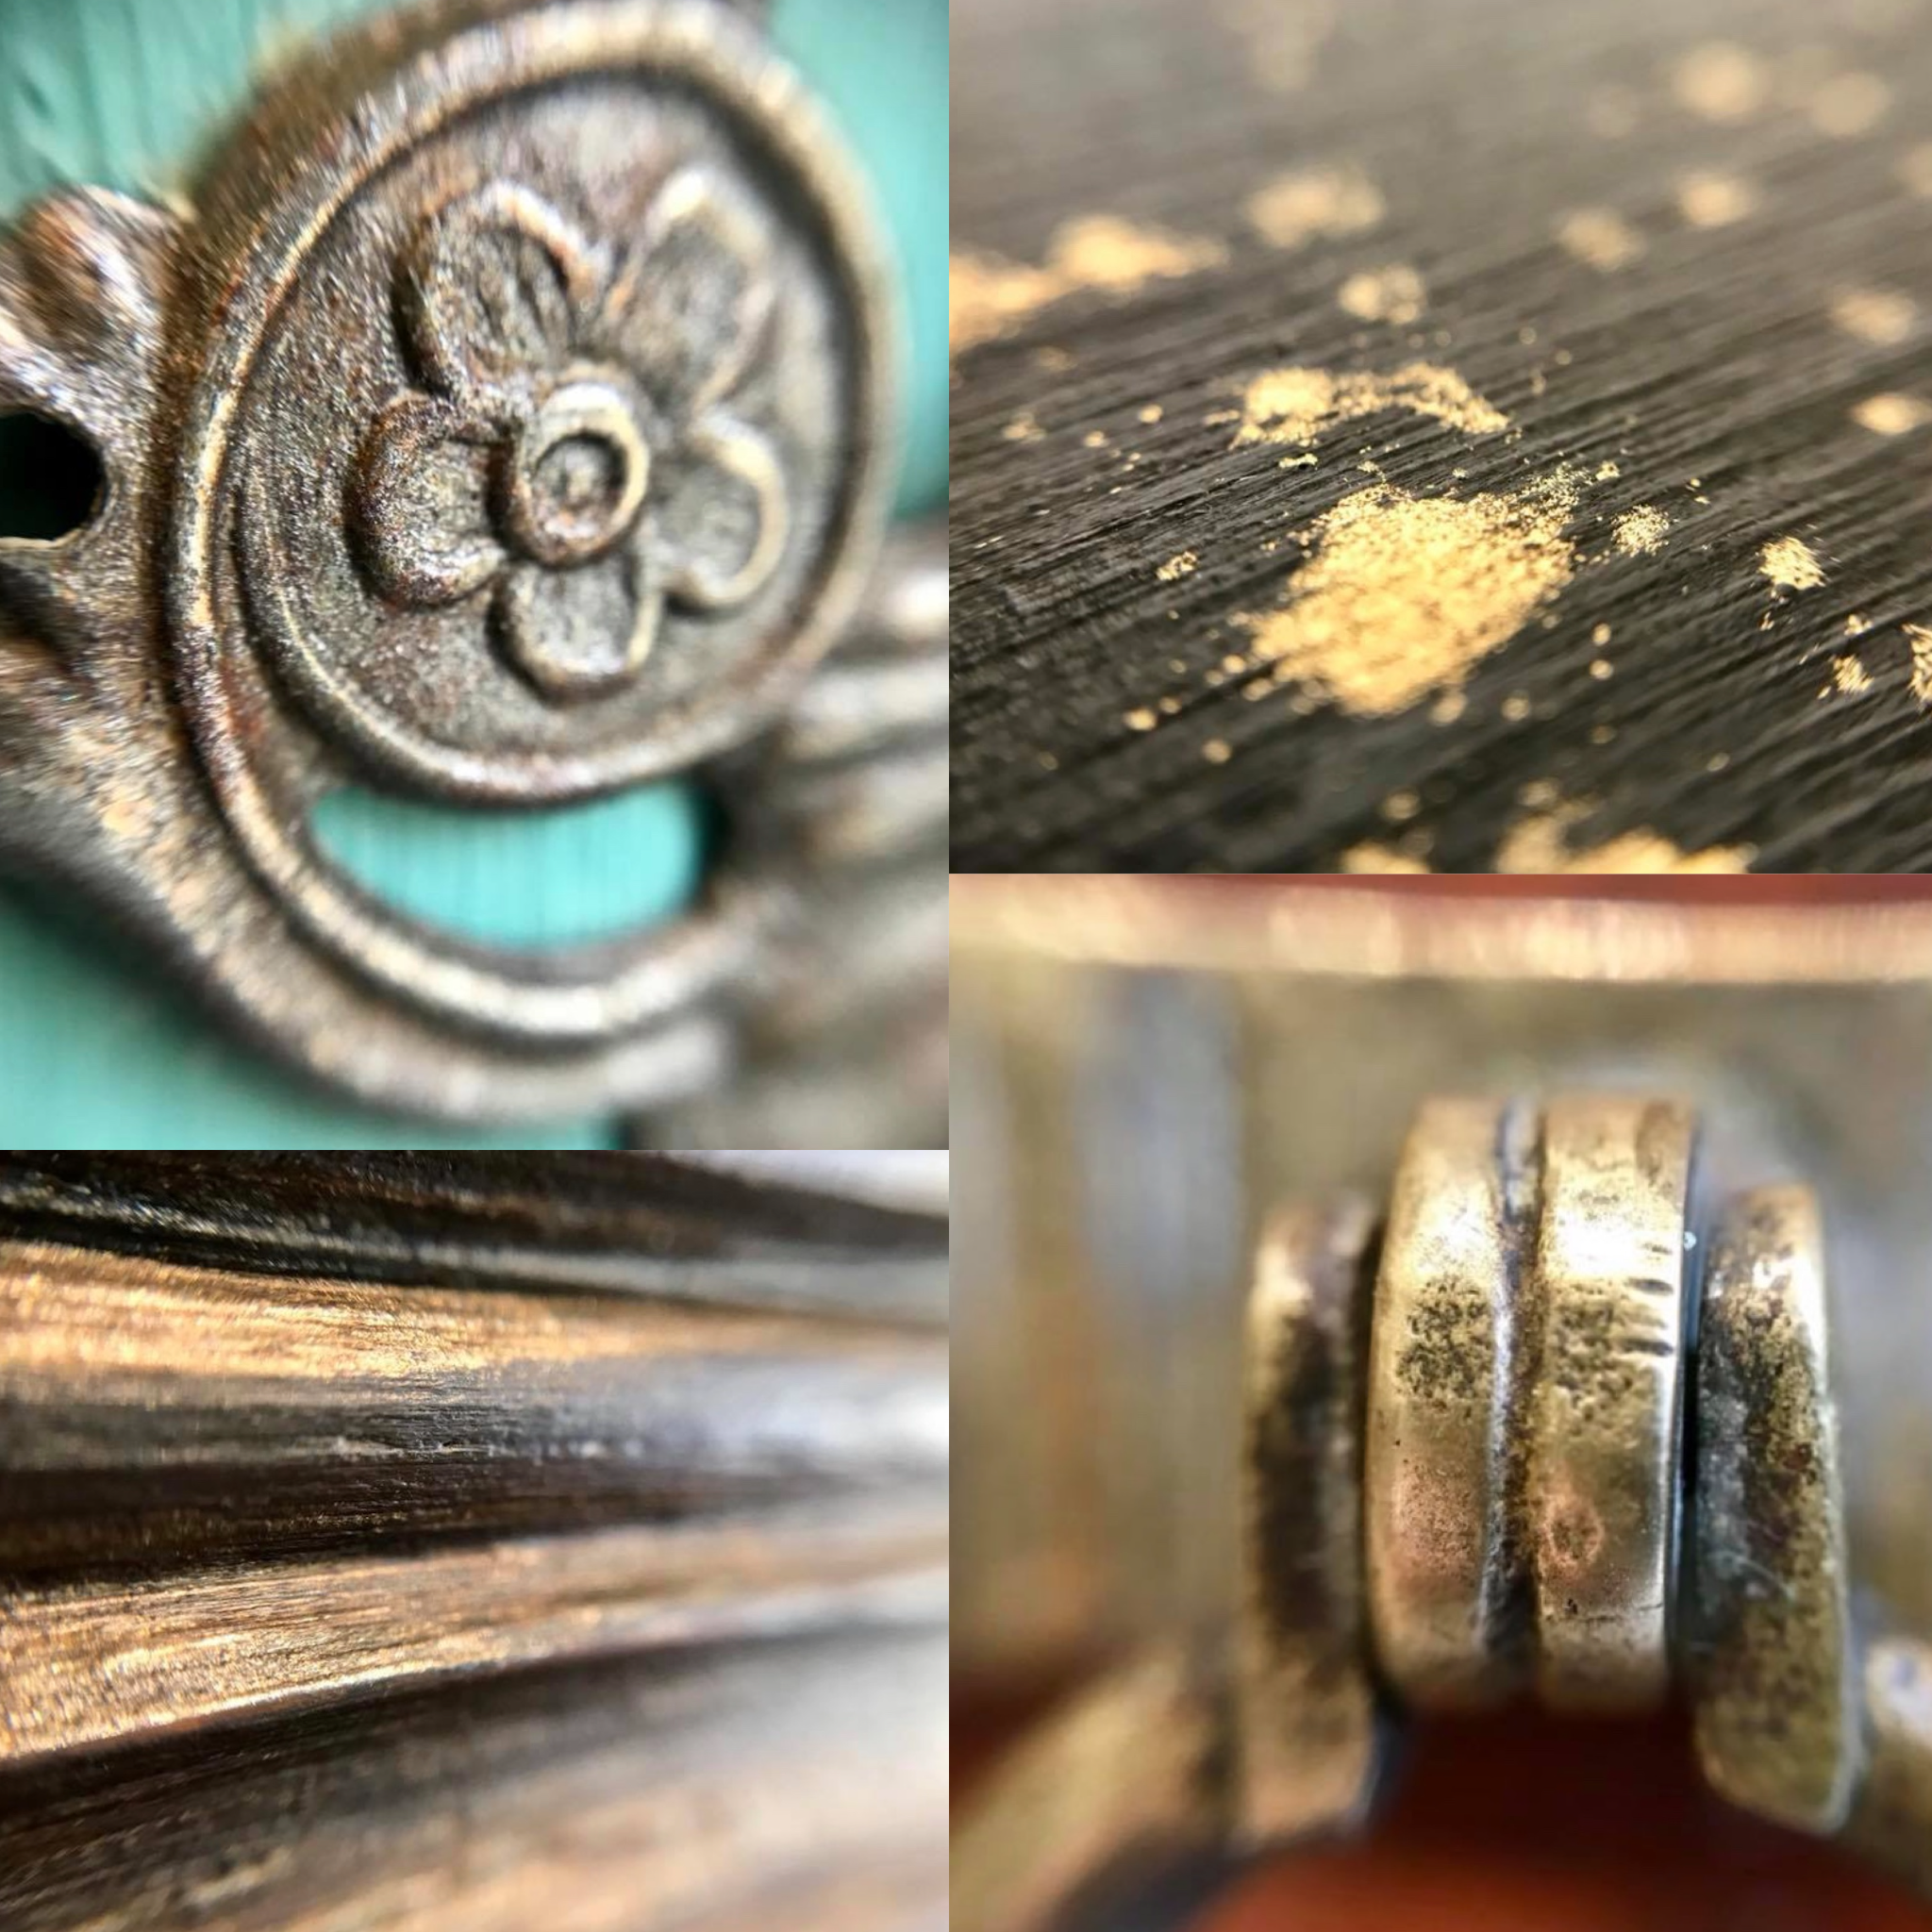
How to age hardware – Using products and techniques you can create effects on modern fixings to make them look antique
Session 7: Fabrics, Finishing and Follow-up – Studio or alternative premises based.
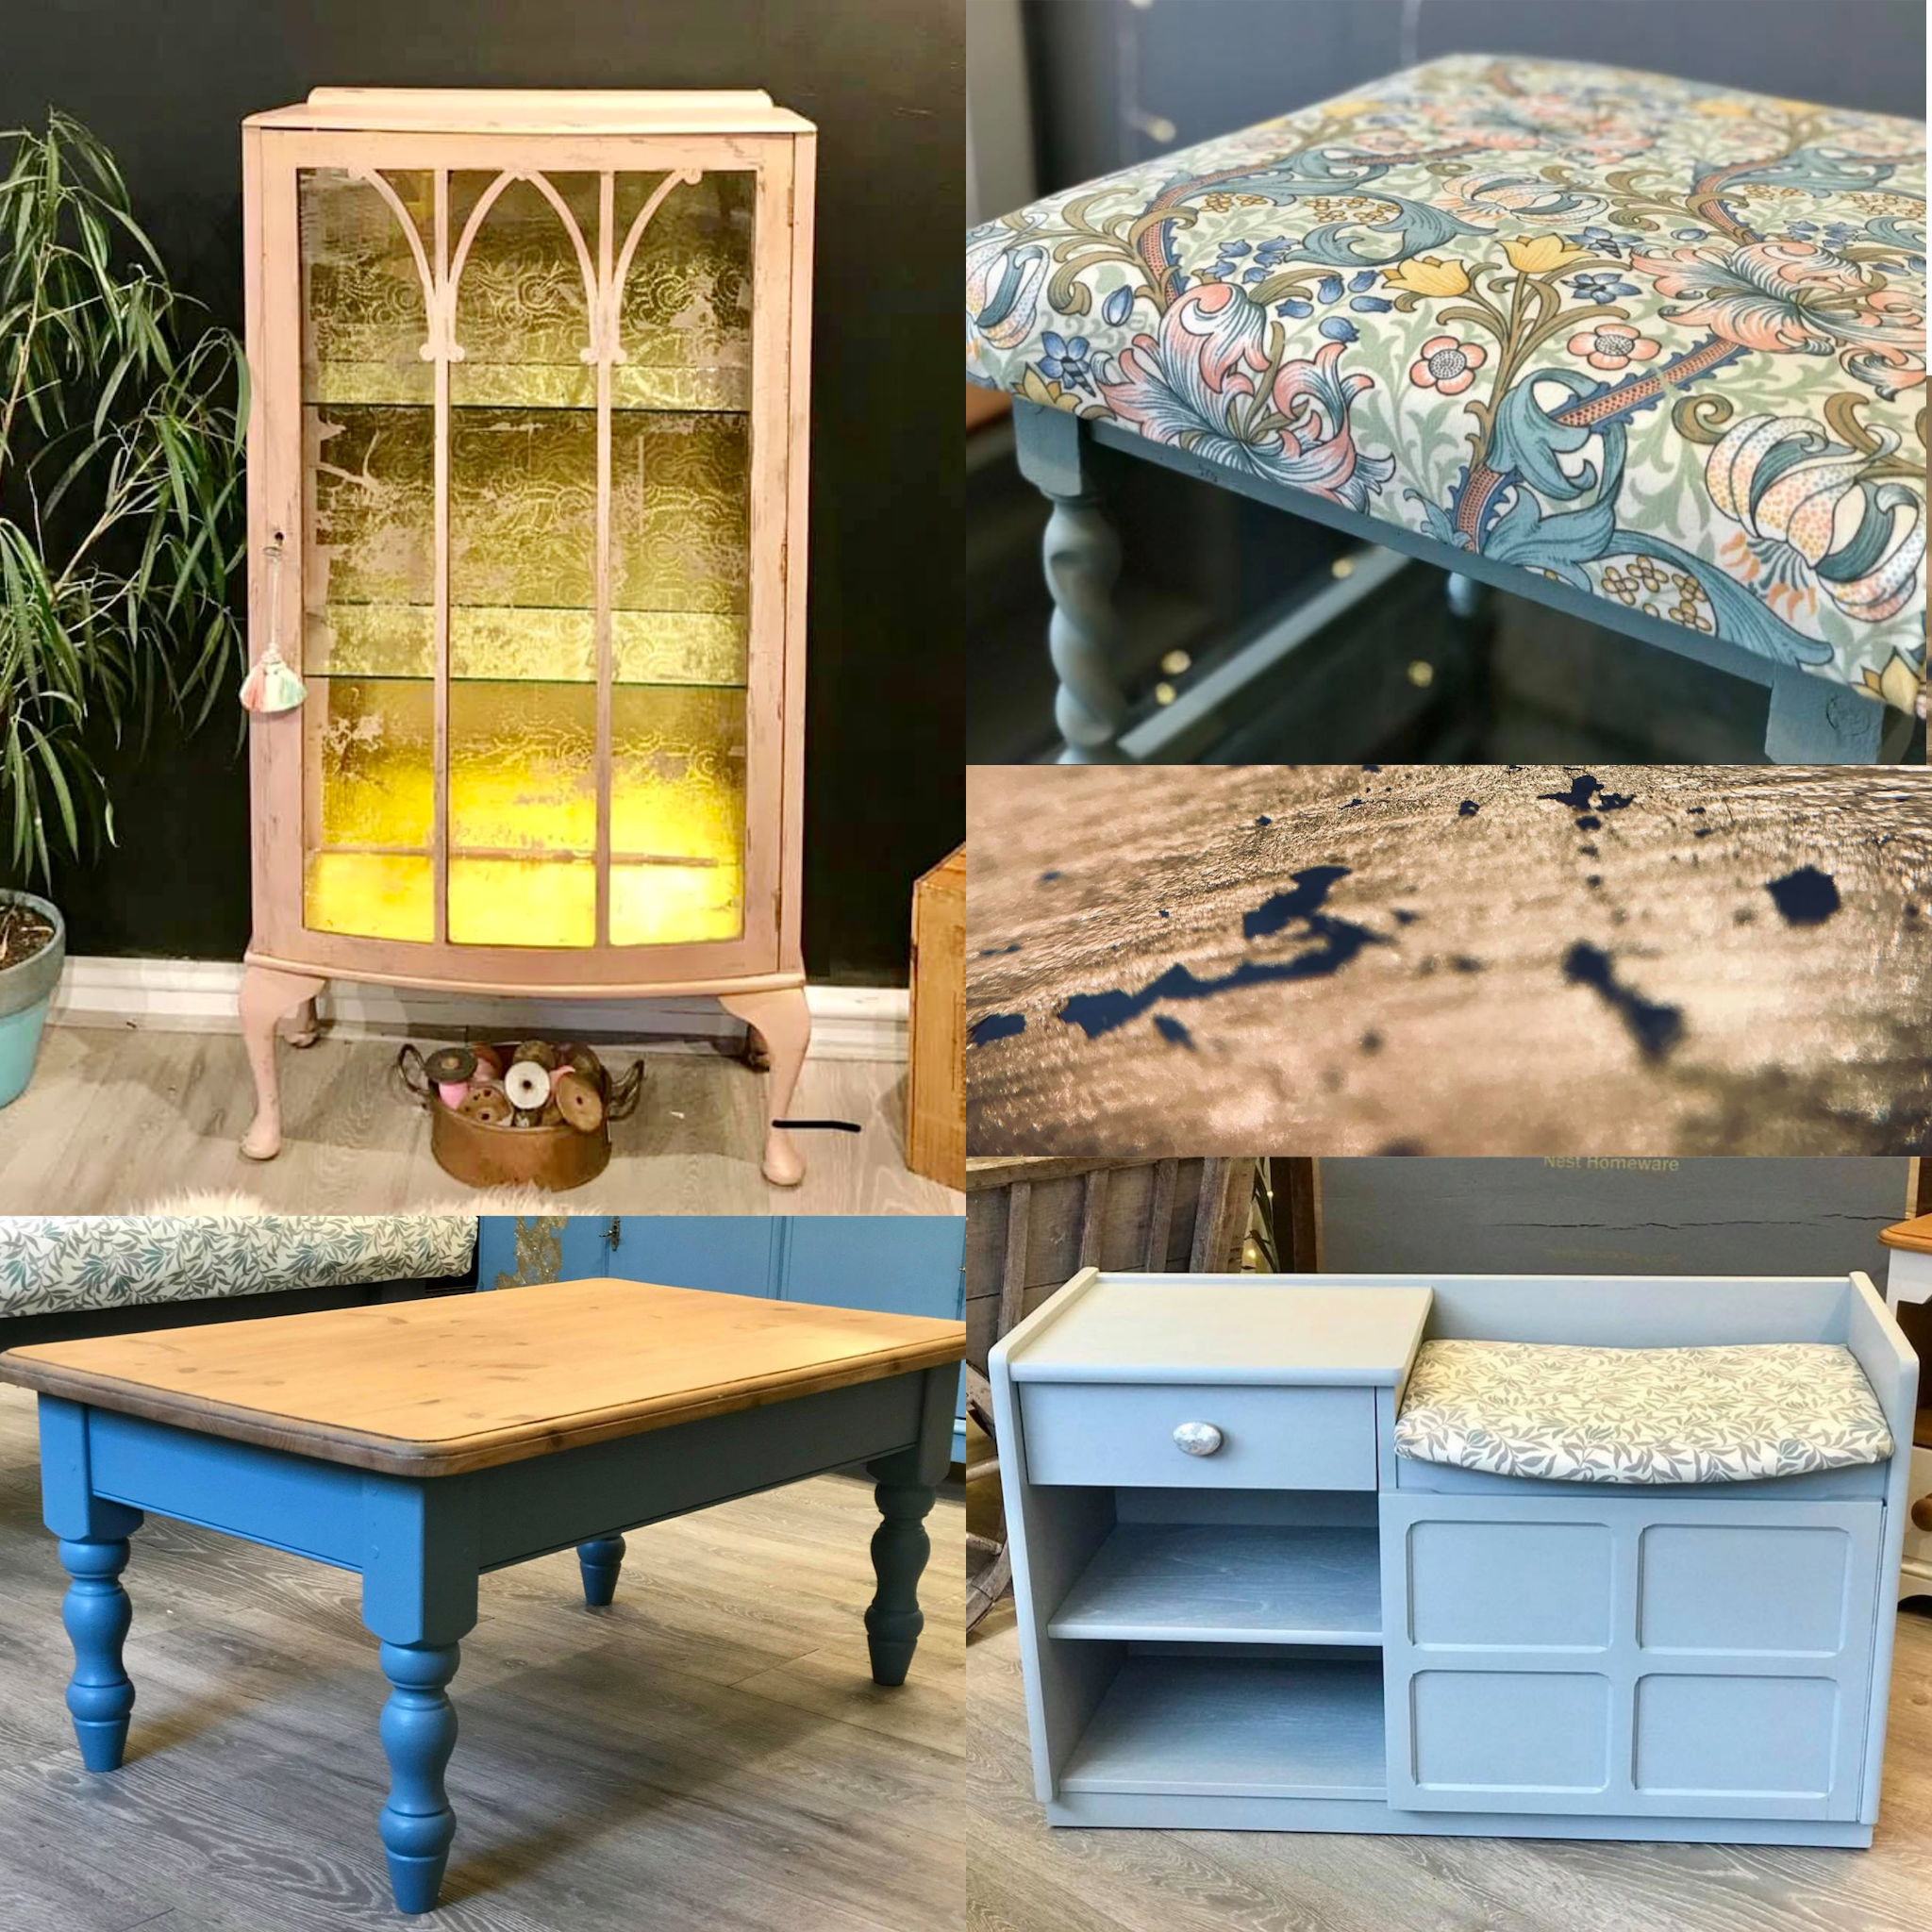
Depending on the piece you’ve been working on, we may need to look at pattern, such as adding fabrics or papers to your chosen items; examples are dressing table stools, seat pads for chairs, lining inside glazing with fabrics and paper, or papering backboards for drinks cabinets.
We will teach you how to make a template for papering, how to easily centralise pattern, how to check awkward areas, how to cut, trim and adhere paper, and the basic skills of upholstery. If you have an item that requires more than a tacking or stapling job, we will look to outsource this session to our associate upholsterers. They may attend at the studio or you may visit their premises locally.
If you do not need to use any pattern or paper on your actual furniture, this session will be replaced by one teaching you how to make a lampshade using fabric that accentuates your furniture which we will use in the final staging photographs and you will get to keep.
Session 8: Staging and Social Media; The importance of good photography – Studio and Outdoors based.
In this final session we will use your completed piece as our subject and start to set up a staging area. We will ask you during the week prior to seek out curiosities and various items all for under a £20 budget that you can use to stage your photograph.
This is a very valuable skill to learn – whether you are posting on Instagram or using for you portfolio for sales and commissions. Get this right and you’ll have so much extra interest. We will set out your colour palette and what metallic you should look out for then using your curiosities and the studio lighting we’ll create a scroll stopping selection of photos for you.
Casey will teach you the basics of photography and Steph will guide you with your item placement. We will then do a photoshoot and post your photos, complete with hashtags and links, on our studio Facebook and Insta pages which currently sit at in excess of 3,600 followers. This will receive immediate feedback and help hugely in building your confidence. We will then help you to set up your own social media pages for your furniture, either for your future business or just for your own pleasure. You will then be completely ready to start compiling your own professional level portfolio and take your furniture further.
Related products
Furniture Painting Classes
1:1 Bespoke Luxecycling workshops x 2 sessions – personal tutoring service
Furniture Painting Classes
Intermediate Level Workshop – Group session (6 attendees maximum)
Furniture Painting Classes
Furniture Painting Classes
Effects & Adornment Workshop – Group Session (4 attendees minimum)
Furniture Painting Classes
1:1 Effects & Adornment Workshop – Personal tutoring service
Furniture Painting Classes
Furniture Painting Classes
Basic Skills Workshop – Group Session (minimum of 4/ Maximum 6 attendees)
Furniture Painting Classes
